
Sample holders
A variety of sample holders are available for the SDCOM, enabling you to process smaller, larger, or irregular samples easily.
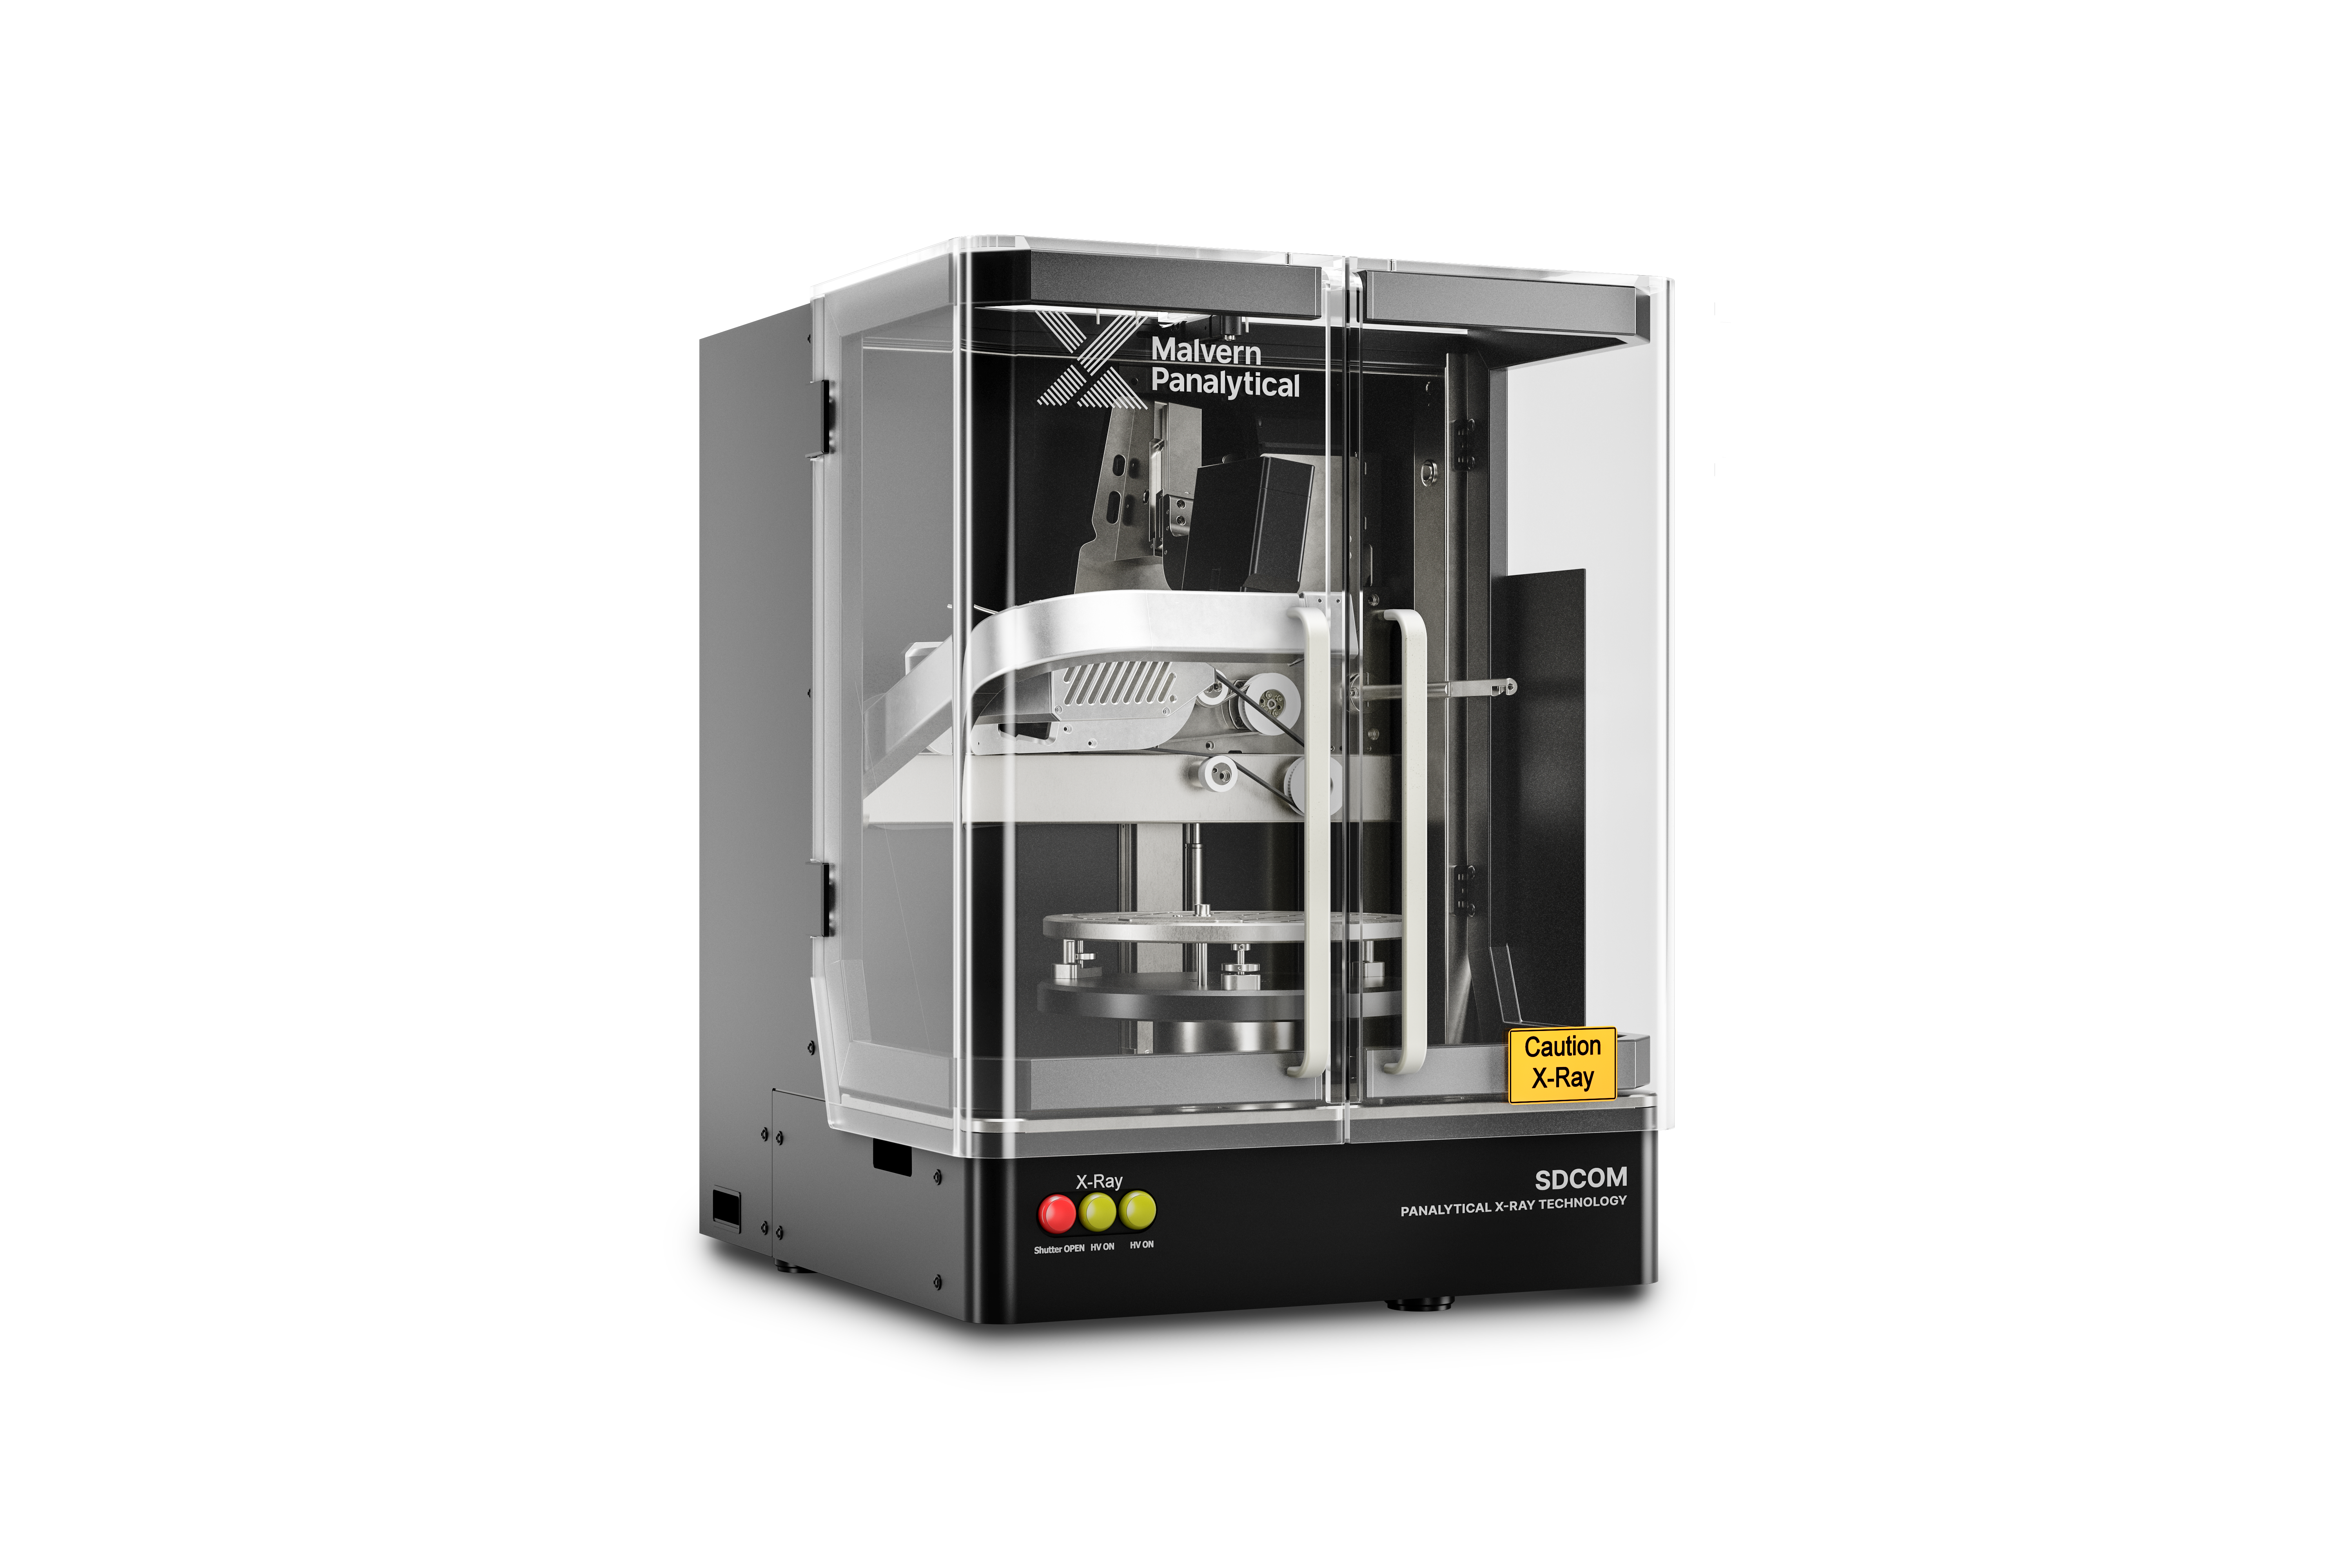
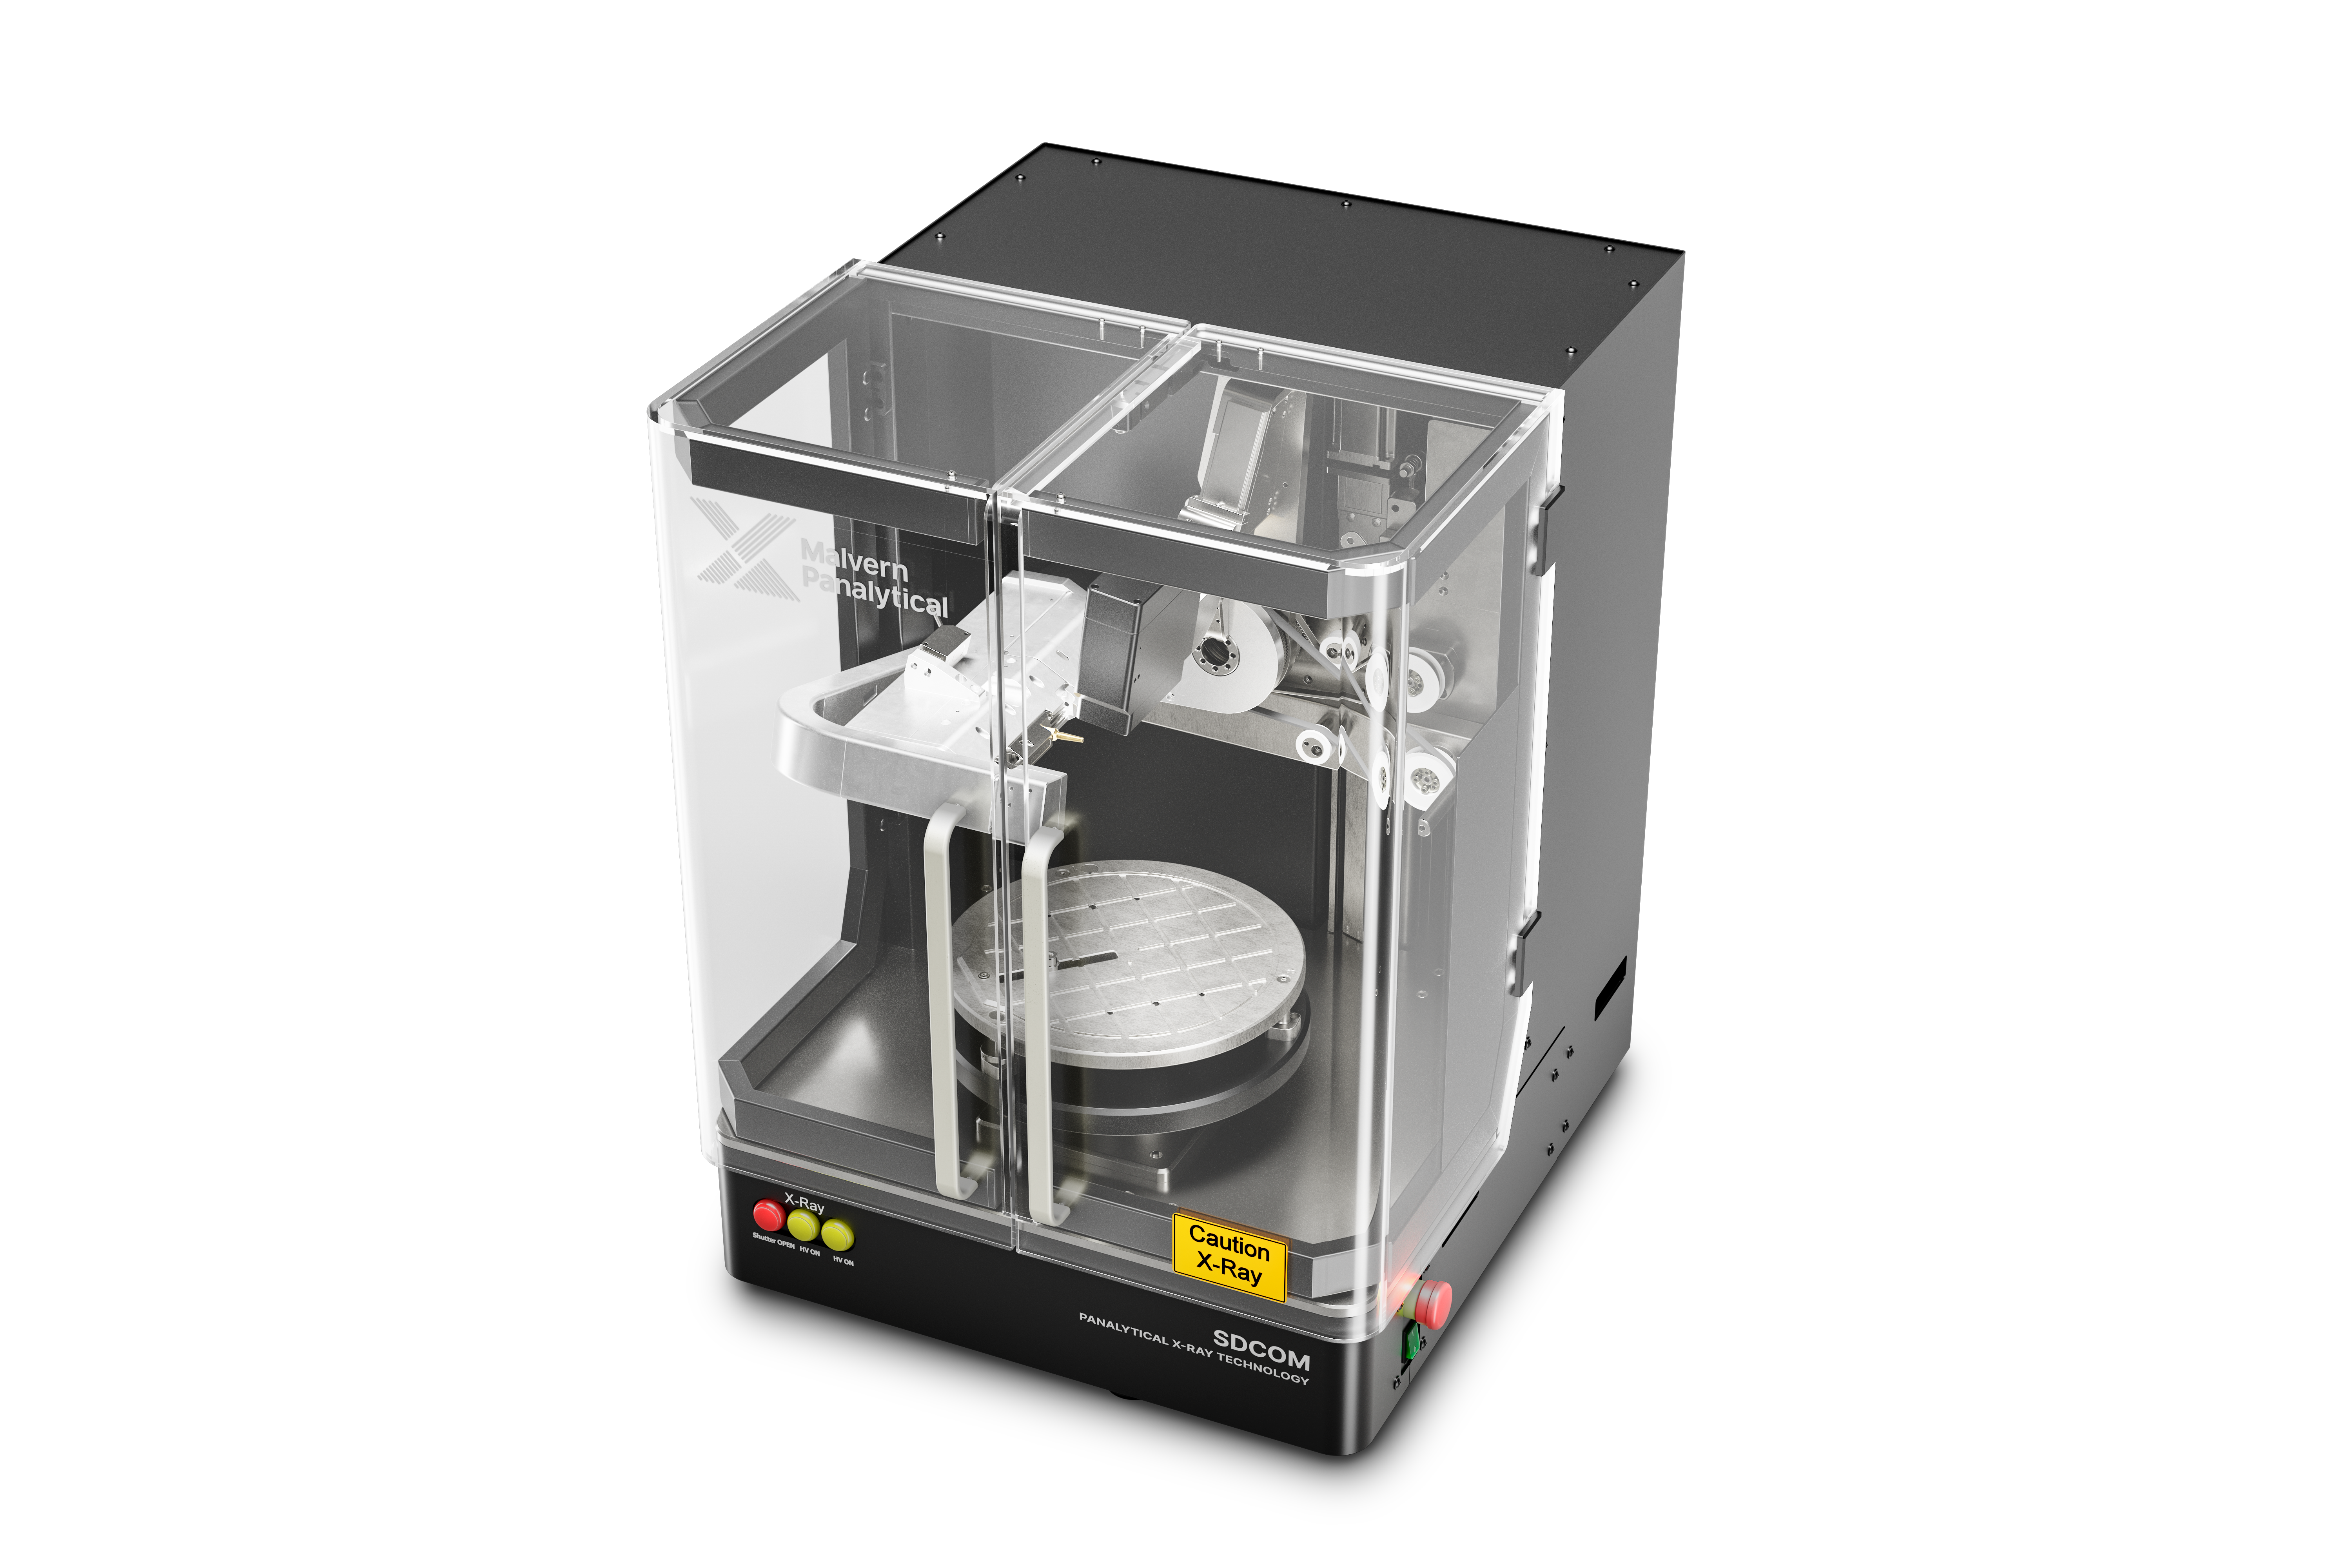
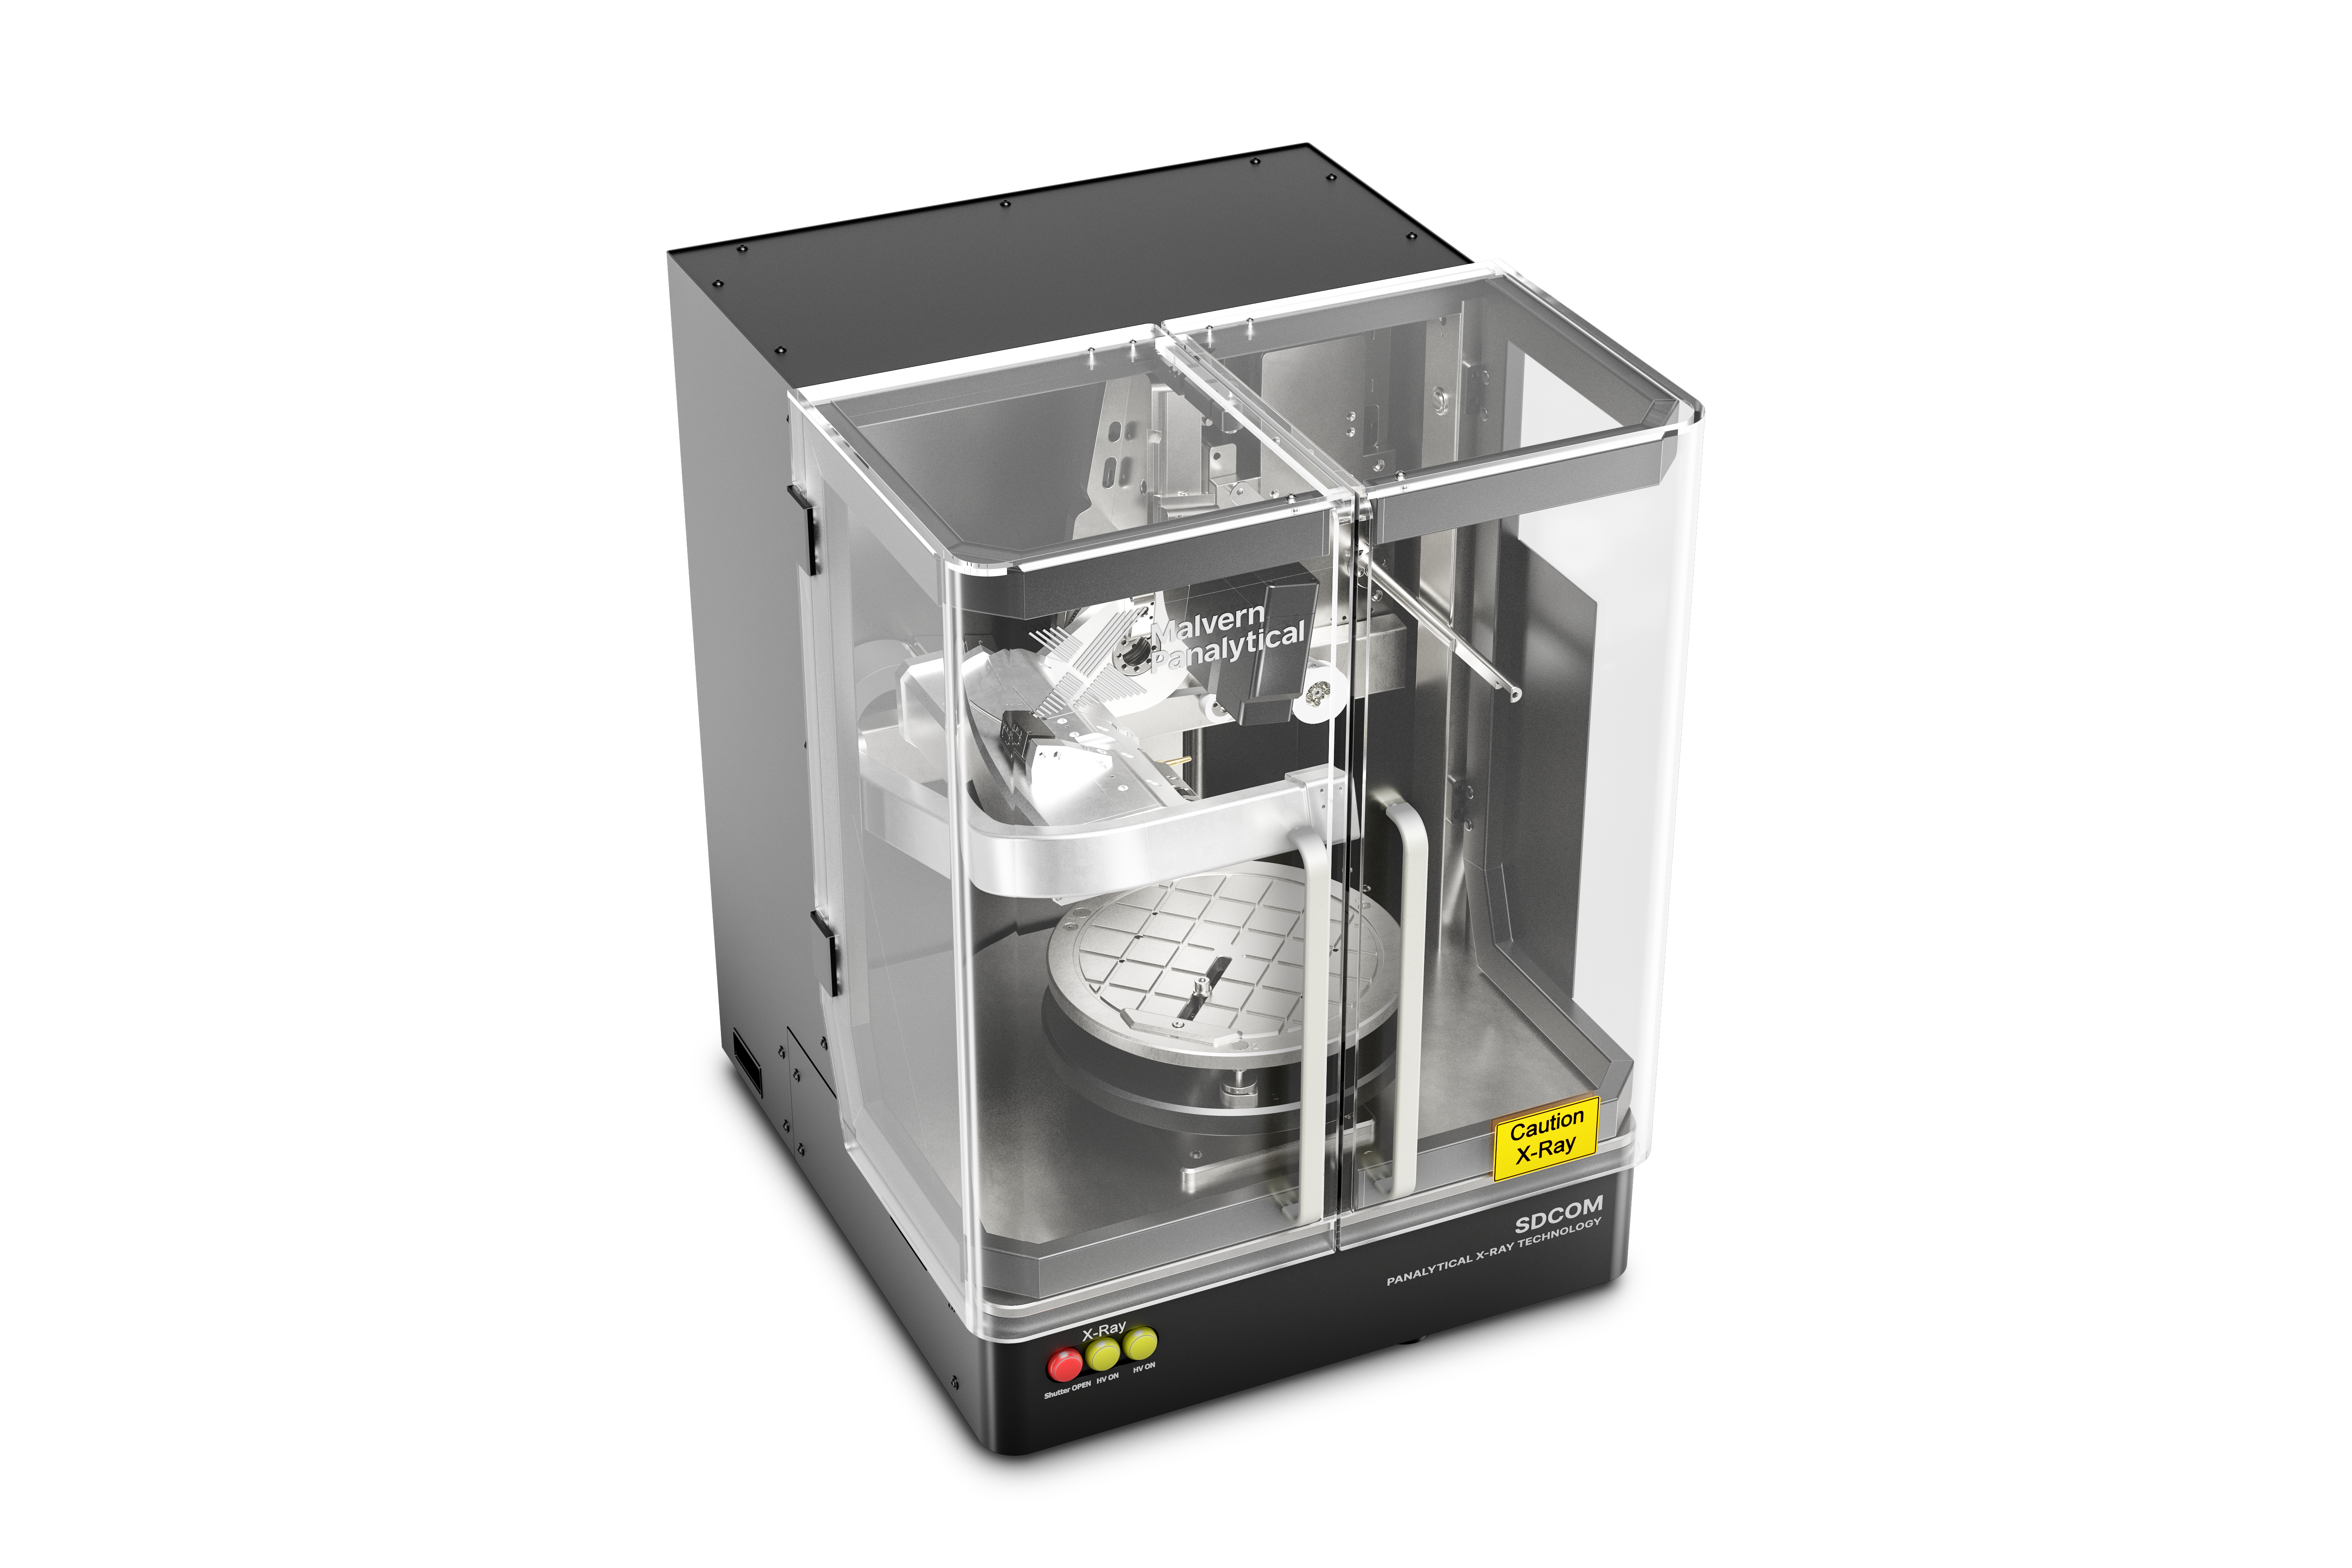
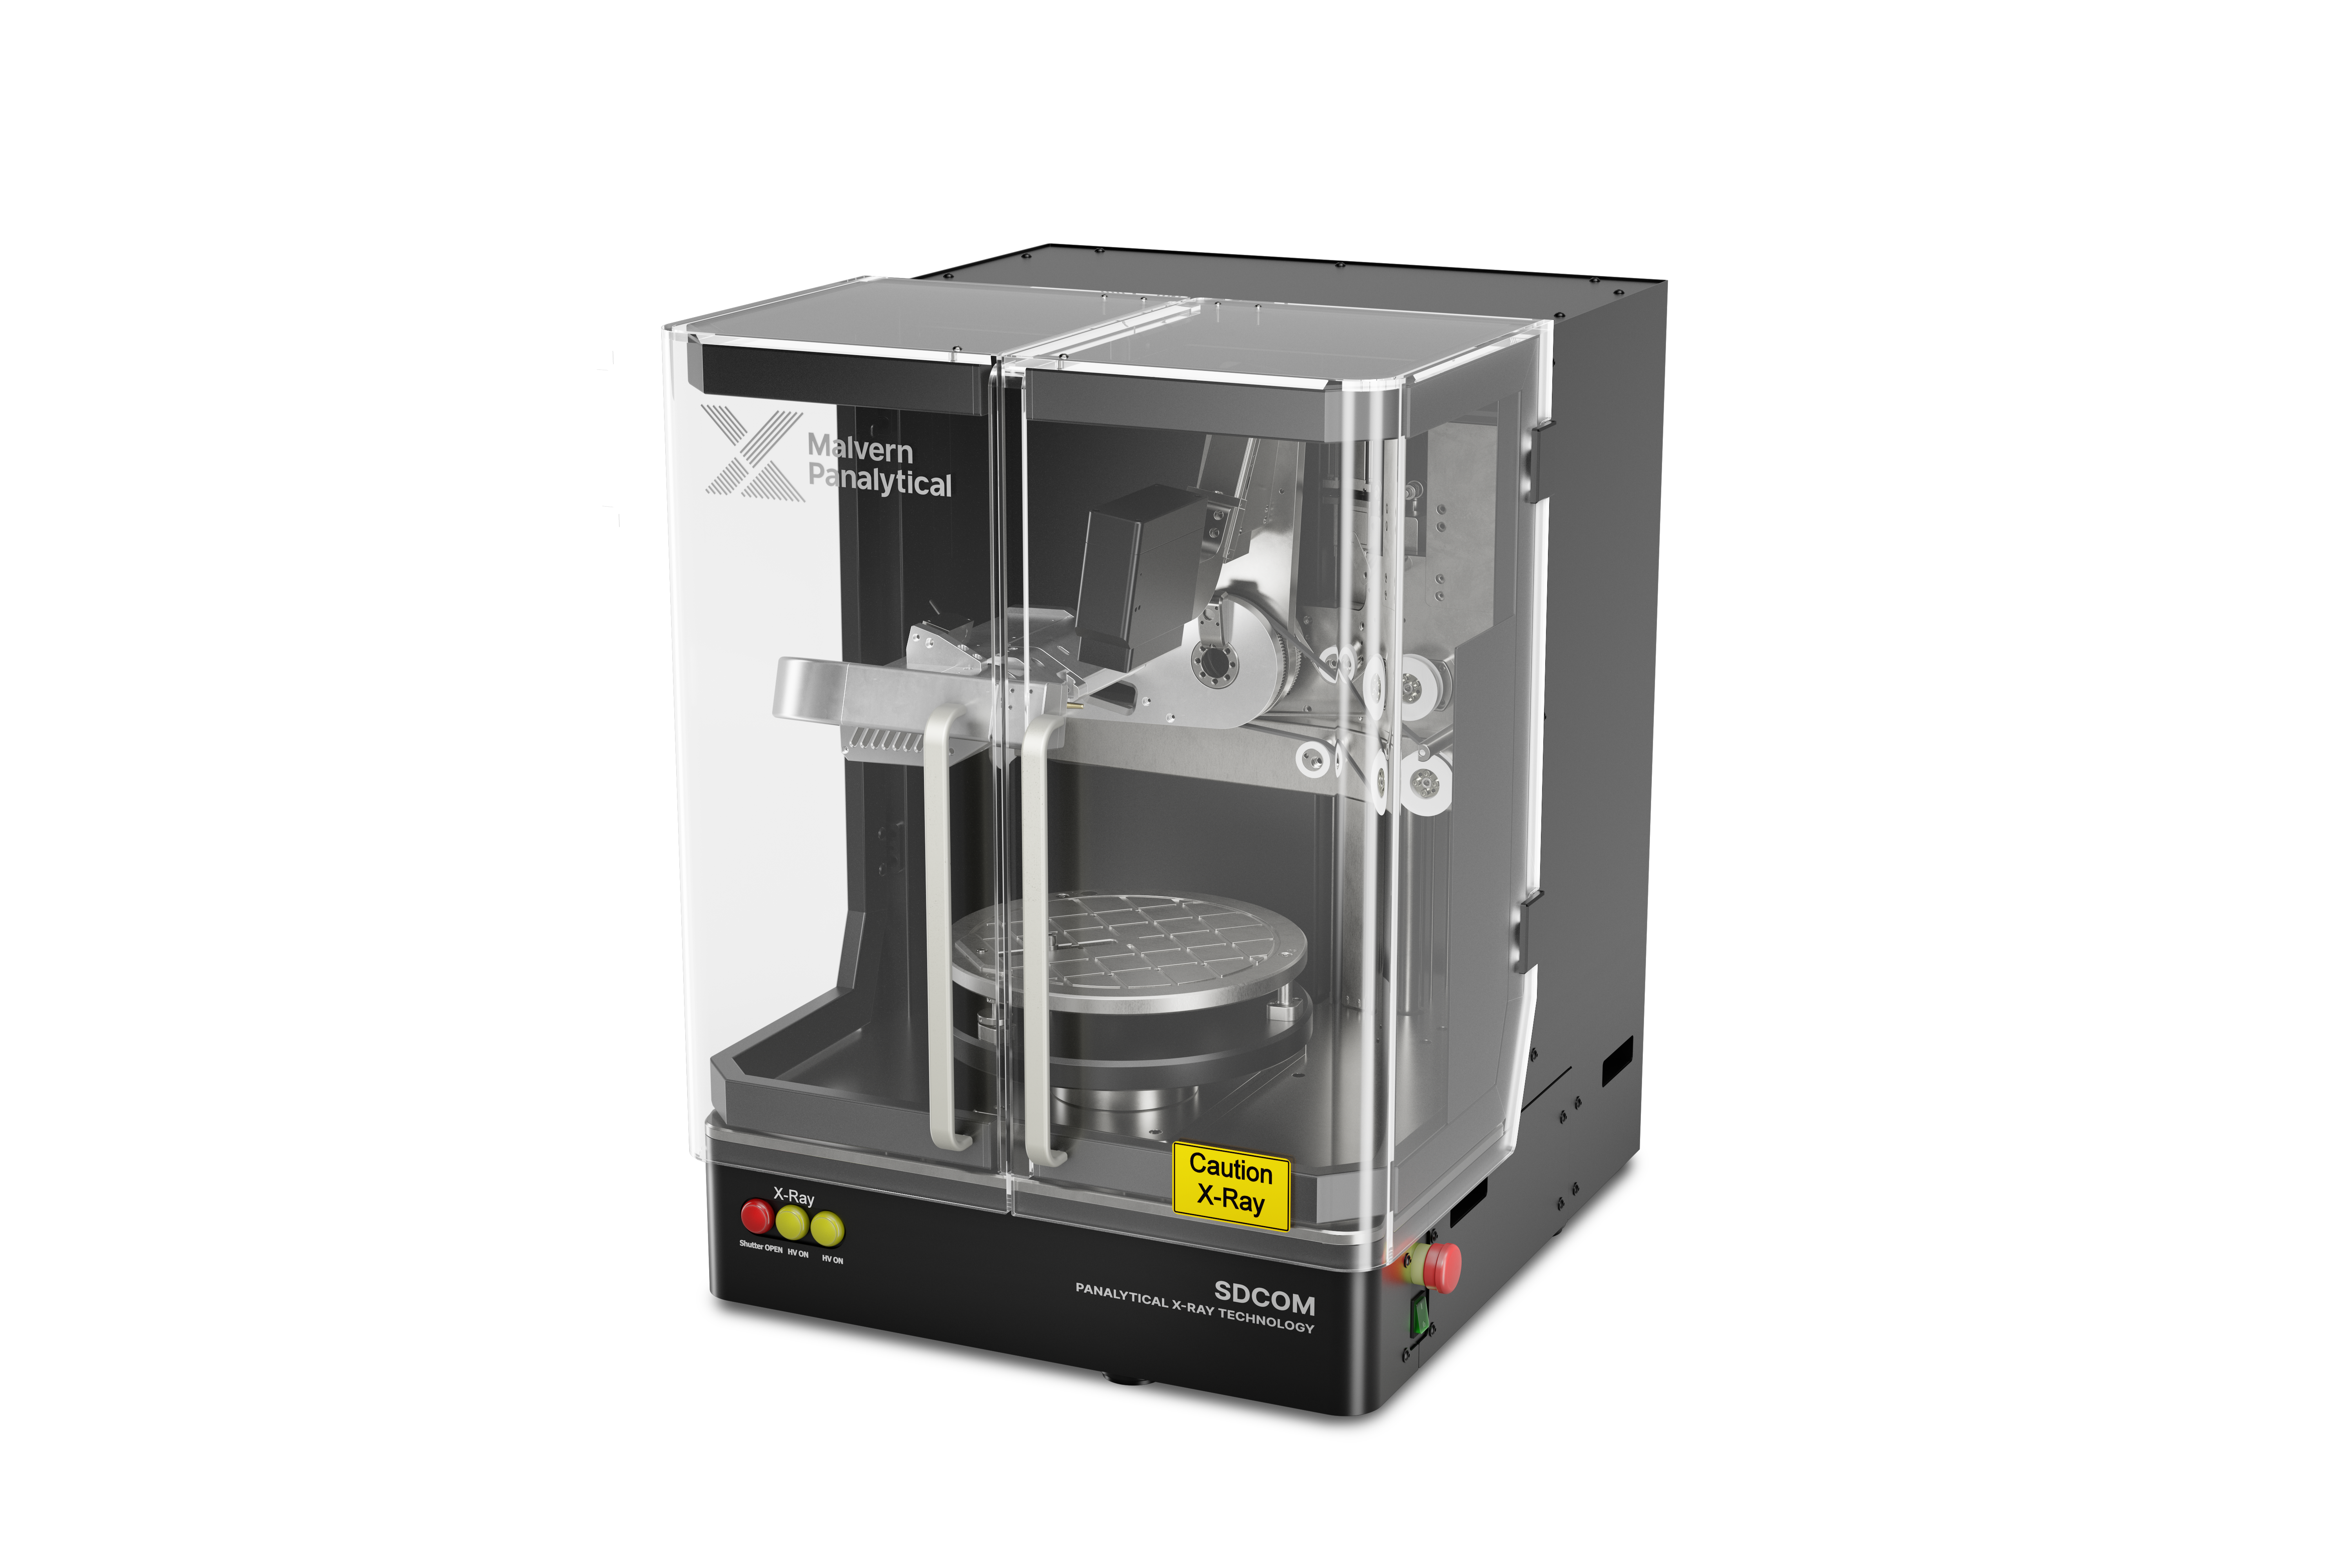
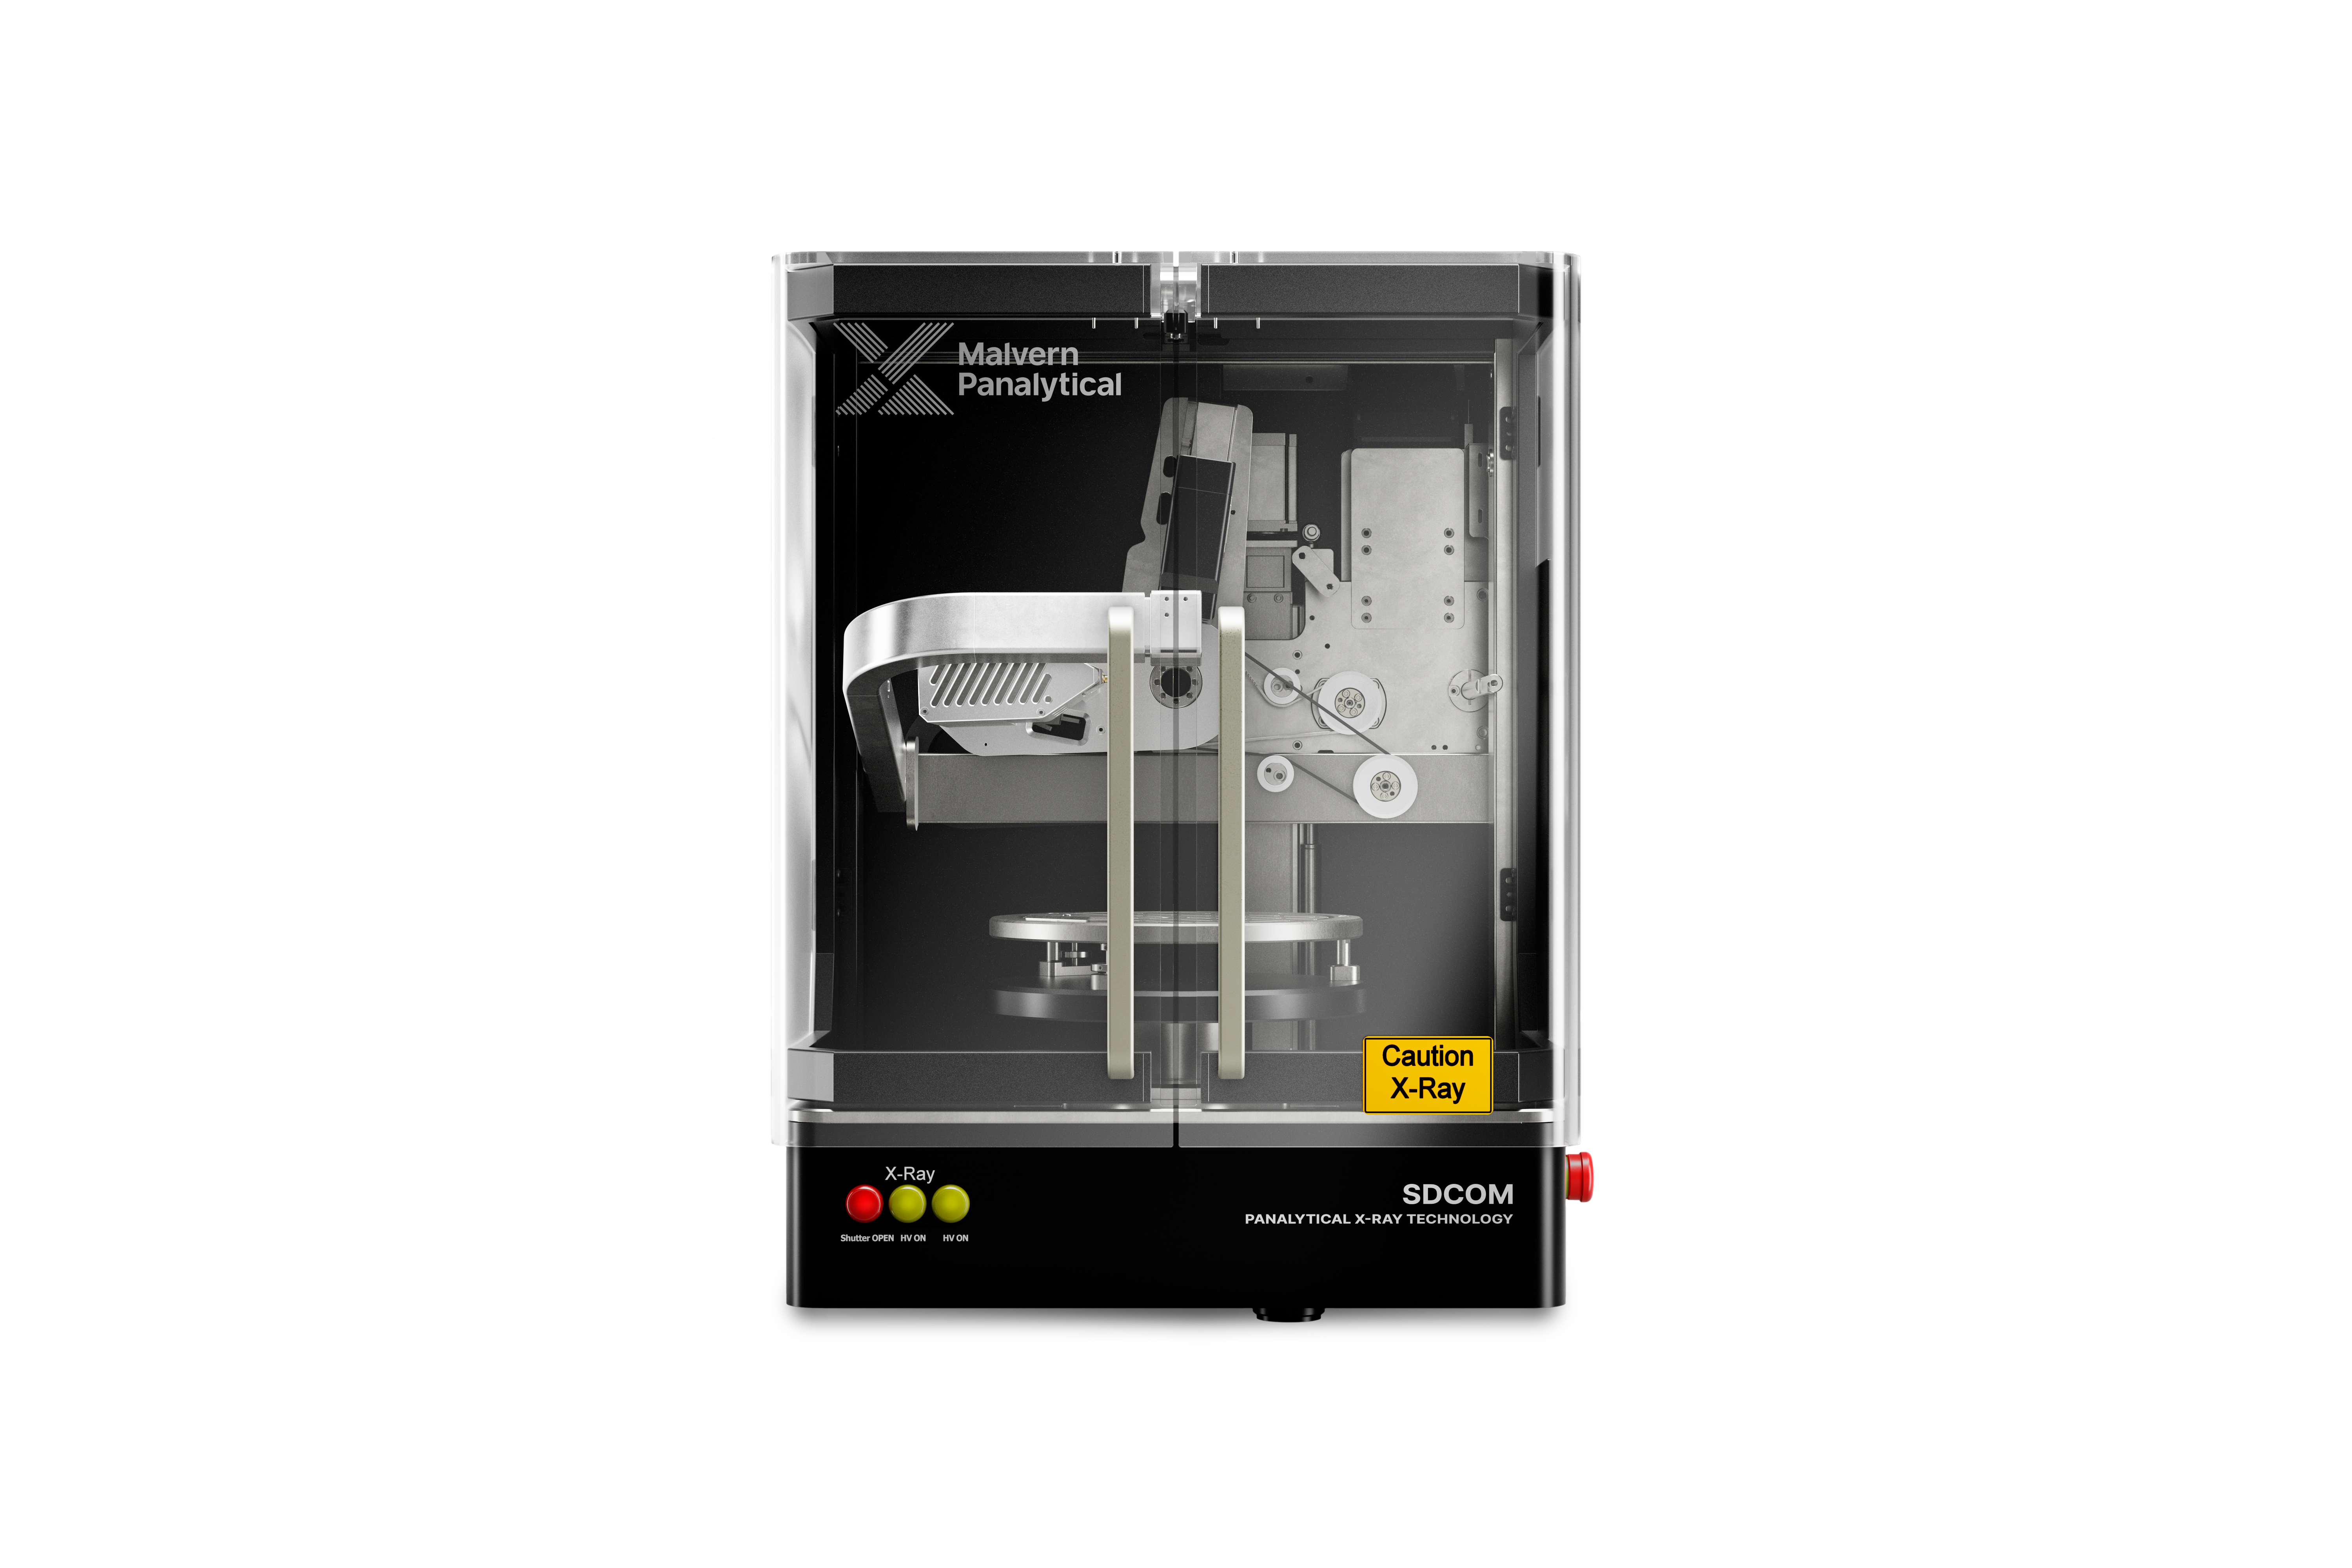


Able to measure any single crystal with a diameter between 2 mm to 300 mm, the SDCOM uses the azimuthal scan method to precisely determine the complete lattice orientation of single crystals in just one measuring rotation – taking only a few seconds.
Suitable for both research, production and quality control, the versatile and accessible SDCOM fits easily into a wide range of wafer and ingot process steps while having minimal operational costs due to no requirement for water cooling.
Download brochureQuick and precise crystal orientation measurement has never been so accessible – meet the SDCOM, your user-friendly compact XRD. The azimuthal scan method unlocks ultra-fast measurement, with results returned in under ten seconds.
Delivering the highest level of precision of up to 0.01o while supporting a wide variety of accessories, SDCOM is the ideal solution for many applications within wafer processing and research.
The azimuthal scan method requires only one measuring rotation to gather all the necessary data to fully determine the orientation, delivering results within 10 seconds whilst not compromising accuracy.
The sample is rotated 360o, with the X-ray source and detector positioned to achieve a certain number of reflections per turn. These reflections enable the orientation of the crystal lattice to be measured in relation to the rotation axis with a high precision of up to 0.01o.
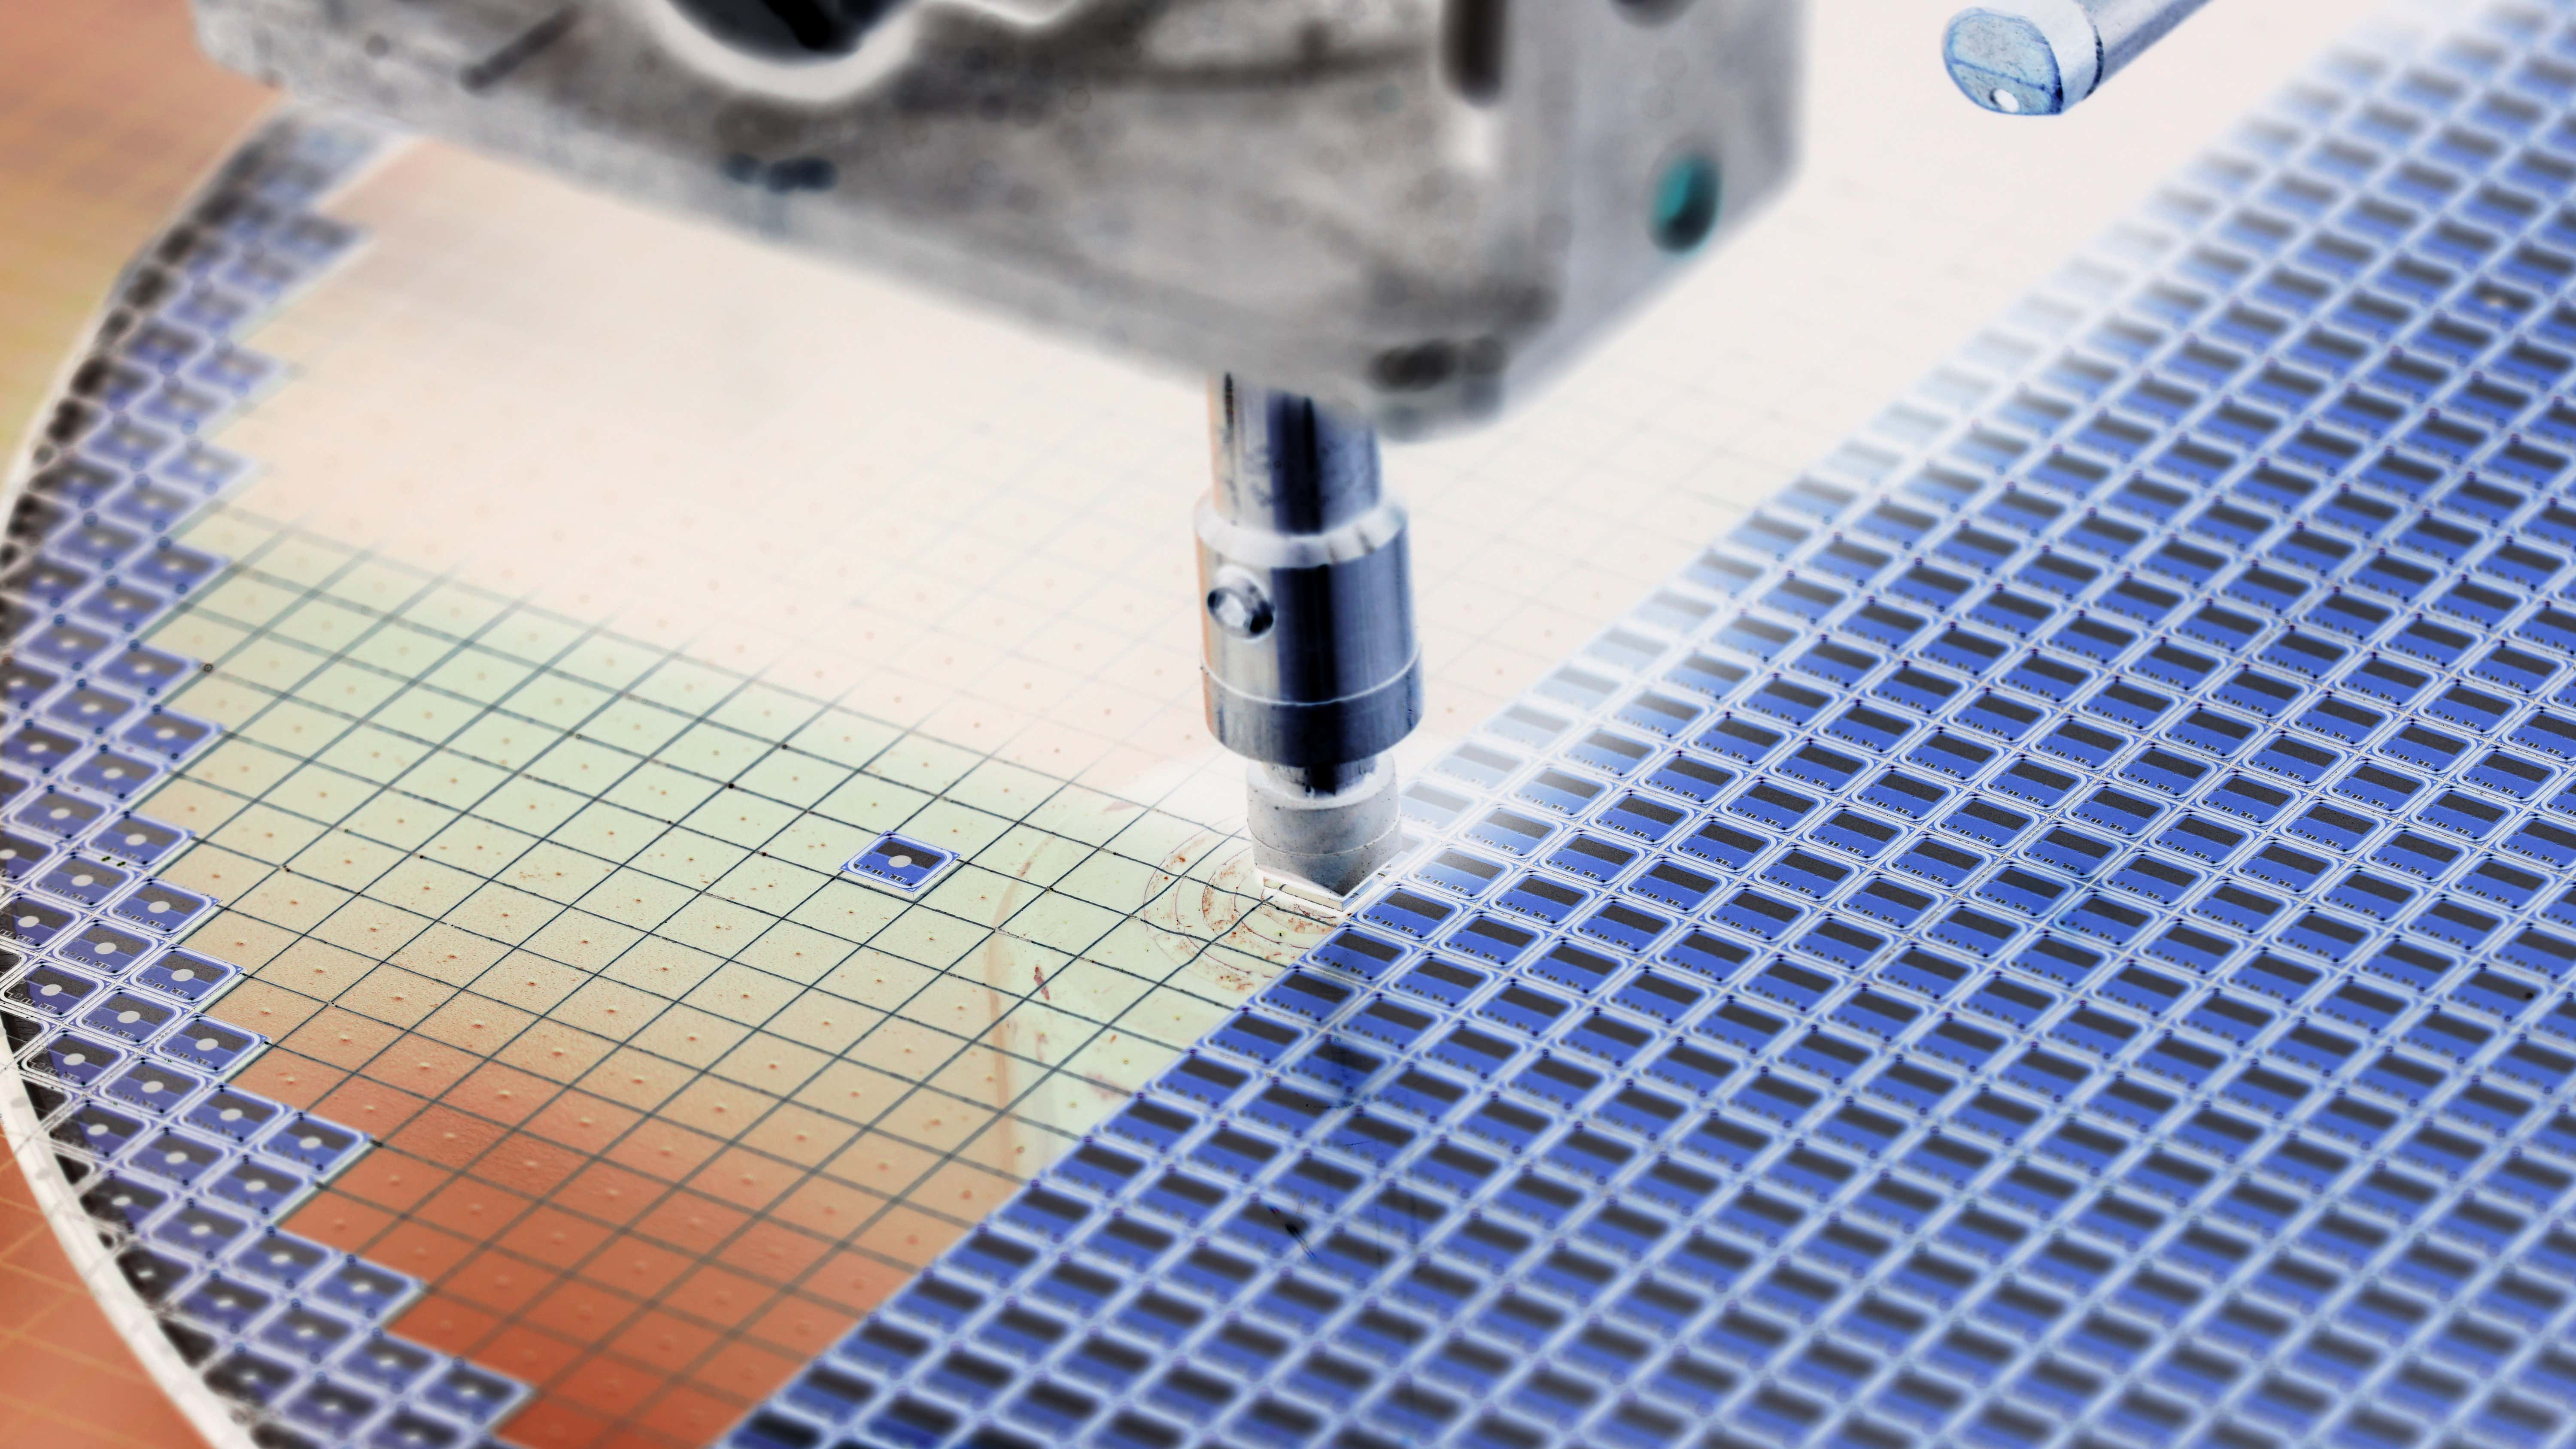
Due to its lightweight and compact shape, SDCOM is easily integrable in research or industry processes. The XRD Suite software is both powerful and intuitive, making it convenient and easy to operate for a range of users.
Flexibility is key to the SDCOM, which is especially clear in the range of materials it can measure. The SDCOM can measure crystals starting from 2 mm in diameter up to 300 mm in diameter
For added flexibility, the SDCOM also supports the Theta-scan. With this you can cover an even larger range of materials and off-cuts.
There is also a variety of sample holders and transfer fixtures that can further expand the possibilities of your SDCOM’s applications, ensuring compatibility with your workflow. Manual and motorized wafer mapping stages are also available.
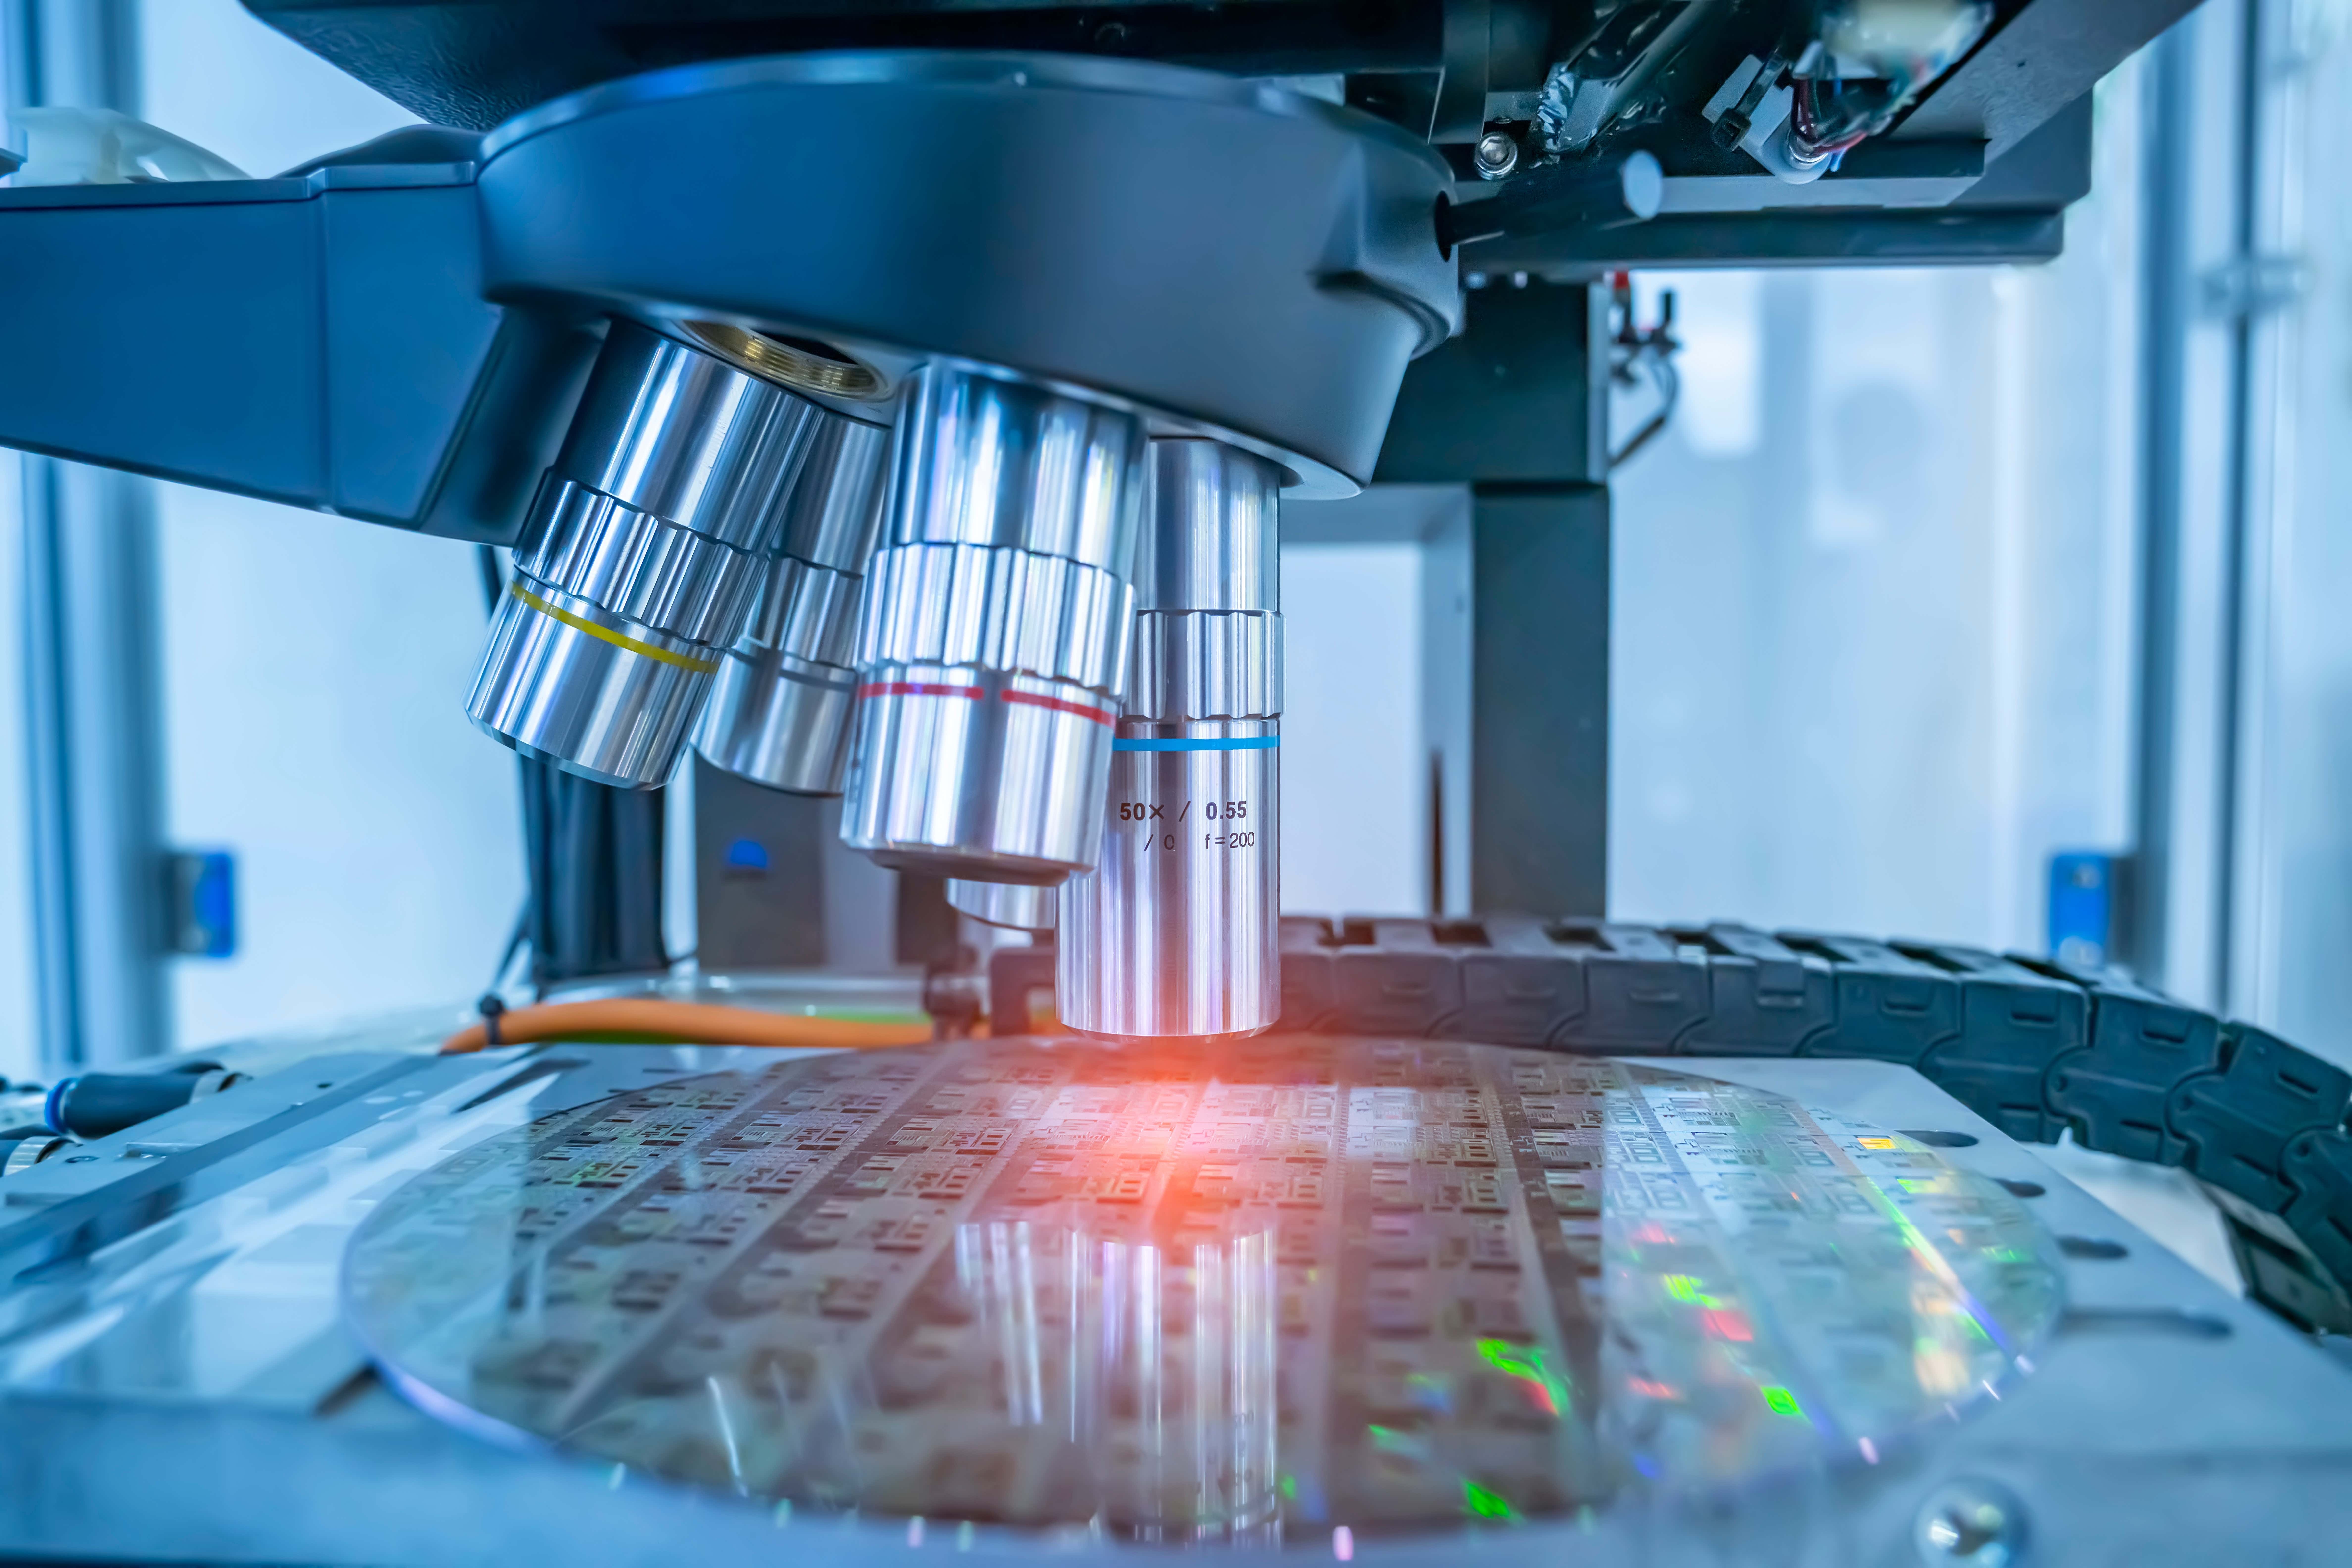
SDCOM’s X-ray tube is air-cooled, eliminating the need for a chiller or a cooling water circuit. Thanks to the SDCOM’s efficiency and small footprint, its energy consumption is kept to a minimum – and so are your running costs.
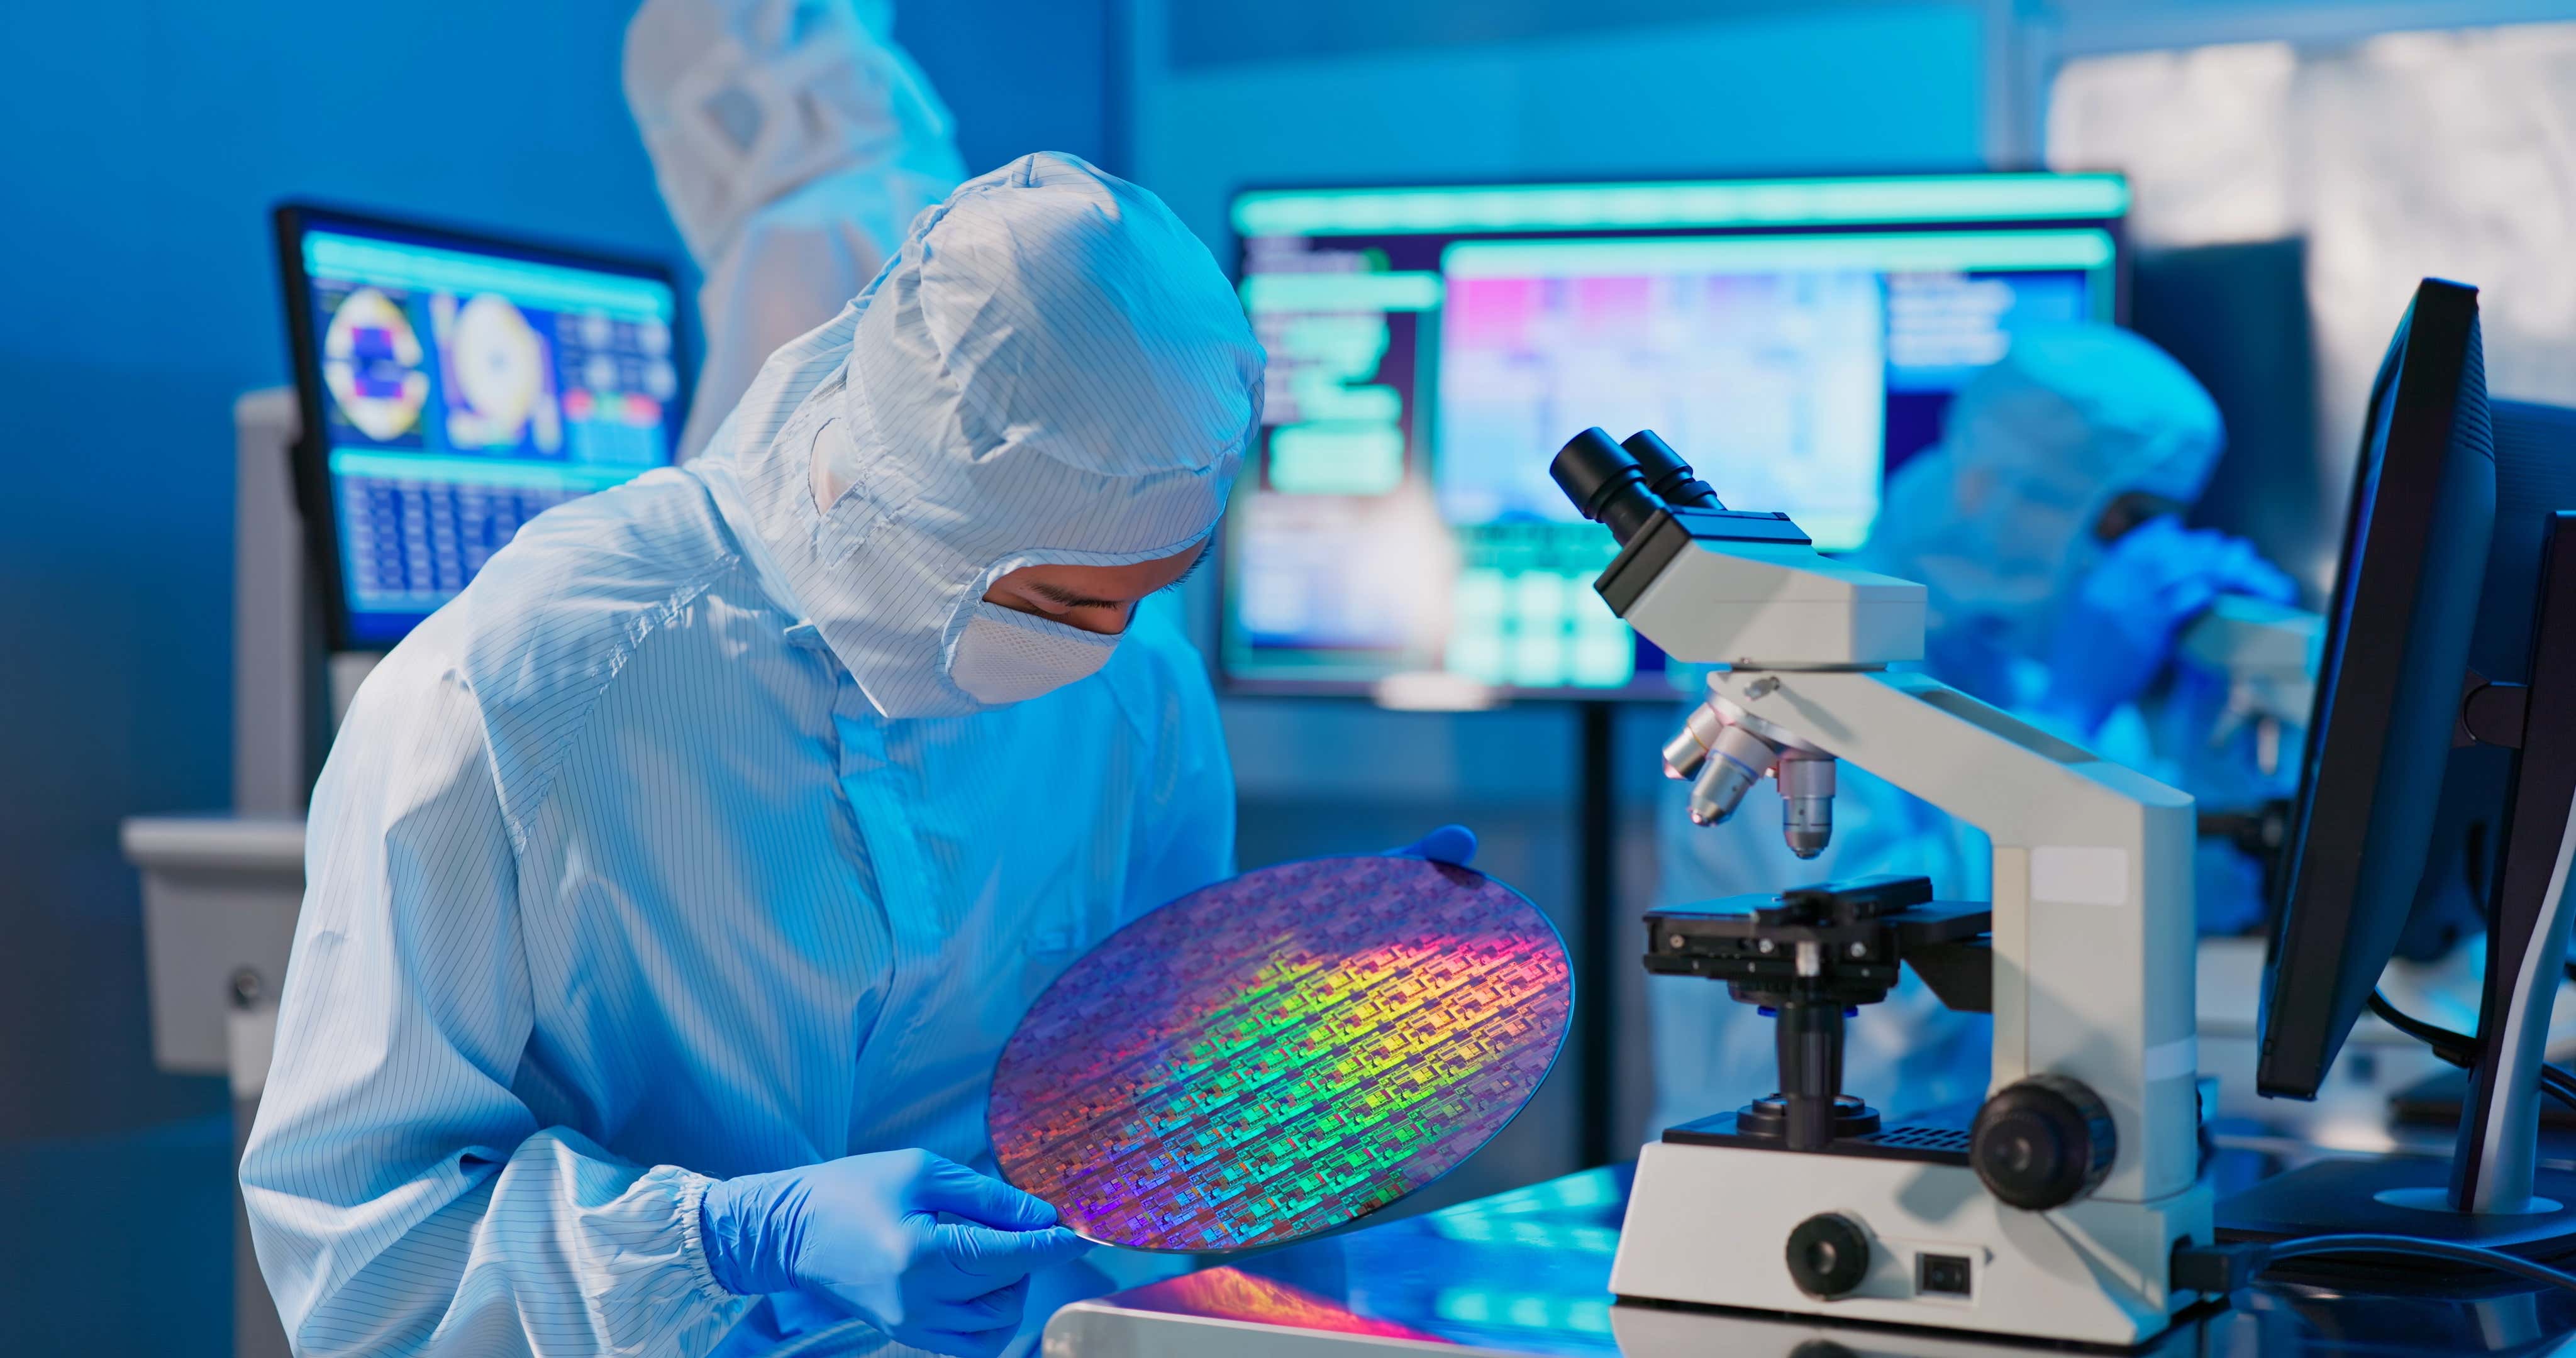
| X-ray source | 30 W air-cooled X-ray tube, Cu anode |
| Detectors | Scintillation counter technology |
| Sample holder | Precise turntable, setting accuracy 0.01°, customized sample holders and transfer fixtures |
| Sample diameter | Down to 2 mm ø, up to 200 mm |
| Ambient temperature | ≤ 30° C |
| PC requirements | Windows 10 or latest, . NET Framework update, 2 Ethernet ports |
| Power requirements | 100 to 230 V, single phase, 500 W |
| Dimensions | 600 mm (L) x 600 mm (B) x 840 mm (H) |
| Weight | ca, 100 kg |
| Certification | Manufactured under ISO 9001 guidelines, CE conform |
| All technical parameters are subject to changes based on R&D | |

A variety of sample holders are available for the SDCOM, enabling you to process smaller, larger, or irregular samples easily.
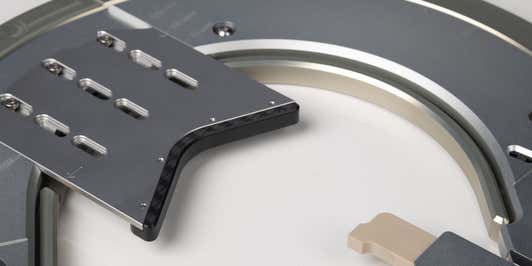
Fully integrate your SDCOM into your process by adding dedicated transfer fixtures, including options for the wire saw, grinding, and more.
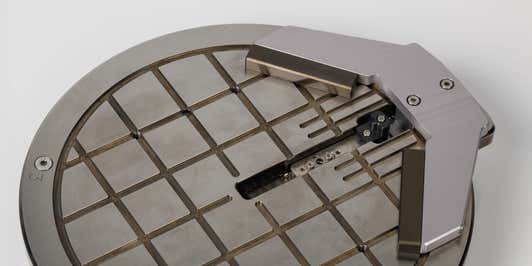
Measure your samples, making no alignment mistakes with the held of notch and flat stoppers.

Capable of measuring 300 mm wafers, the industry standard for high-performance, high-yield semiconductor manufacturing.
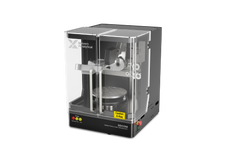
Versatile, precise, and fast X-ray diffraction in a convenient compact format. Cost-effective without the compromise.