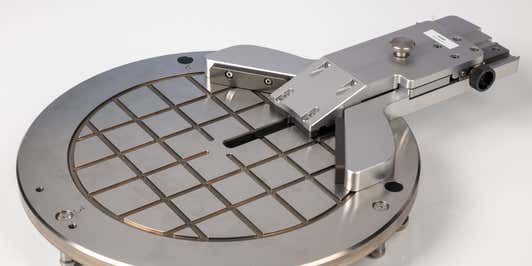
Additional sample stages
Measure a wider range of sample sizes in different process stages with additional sample stages designed to accommodate crystals smaller or larger than average.
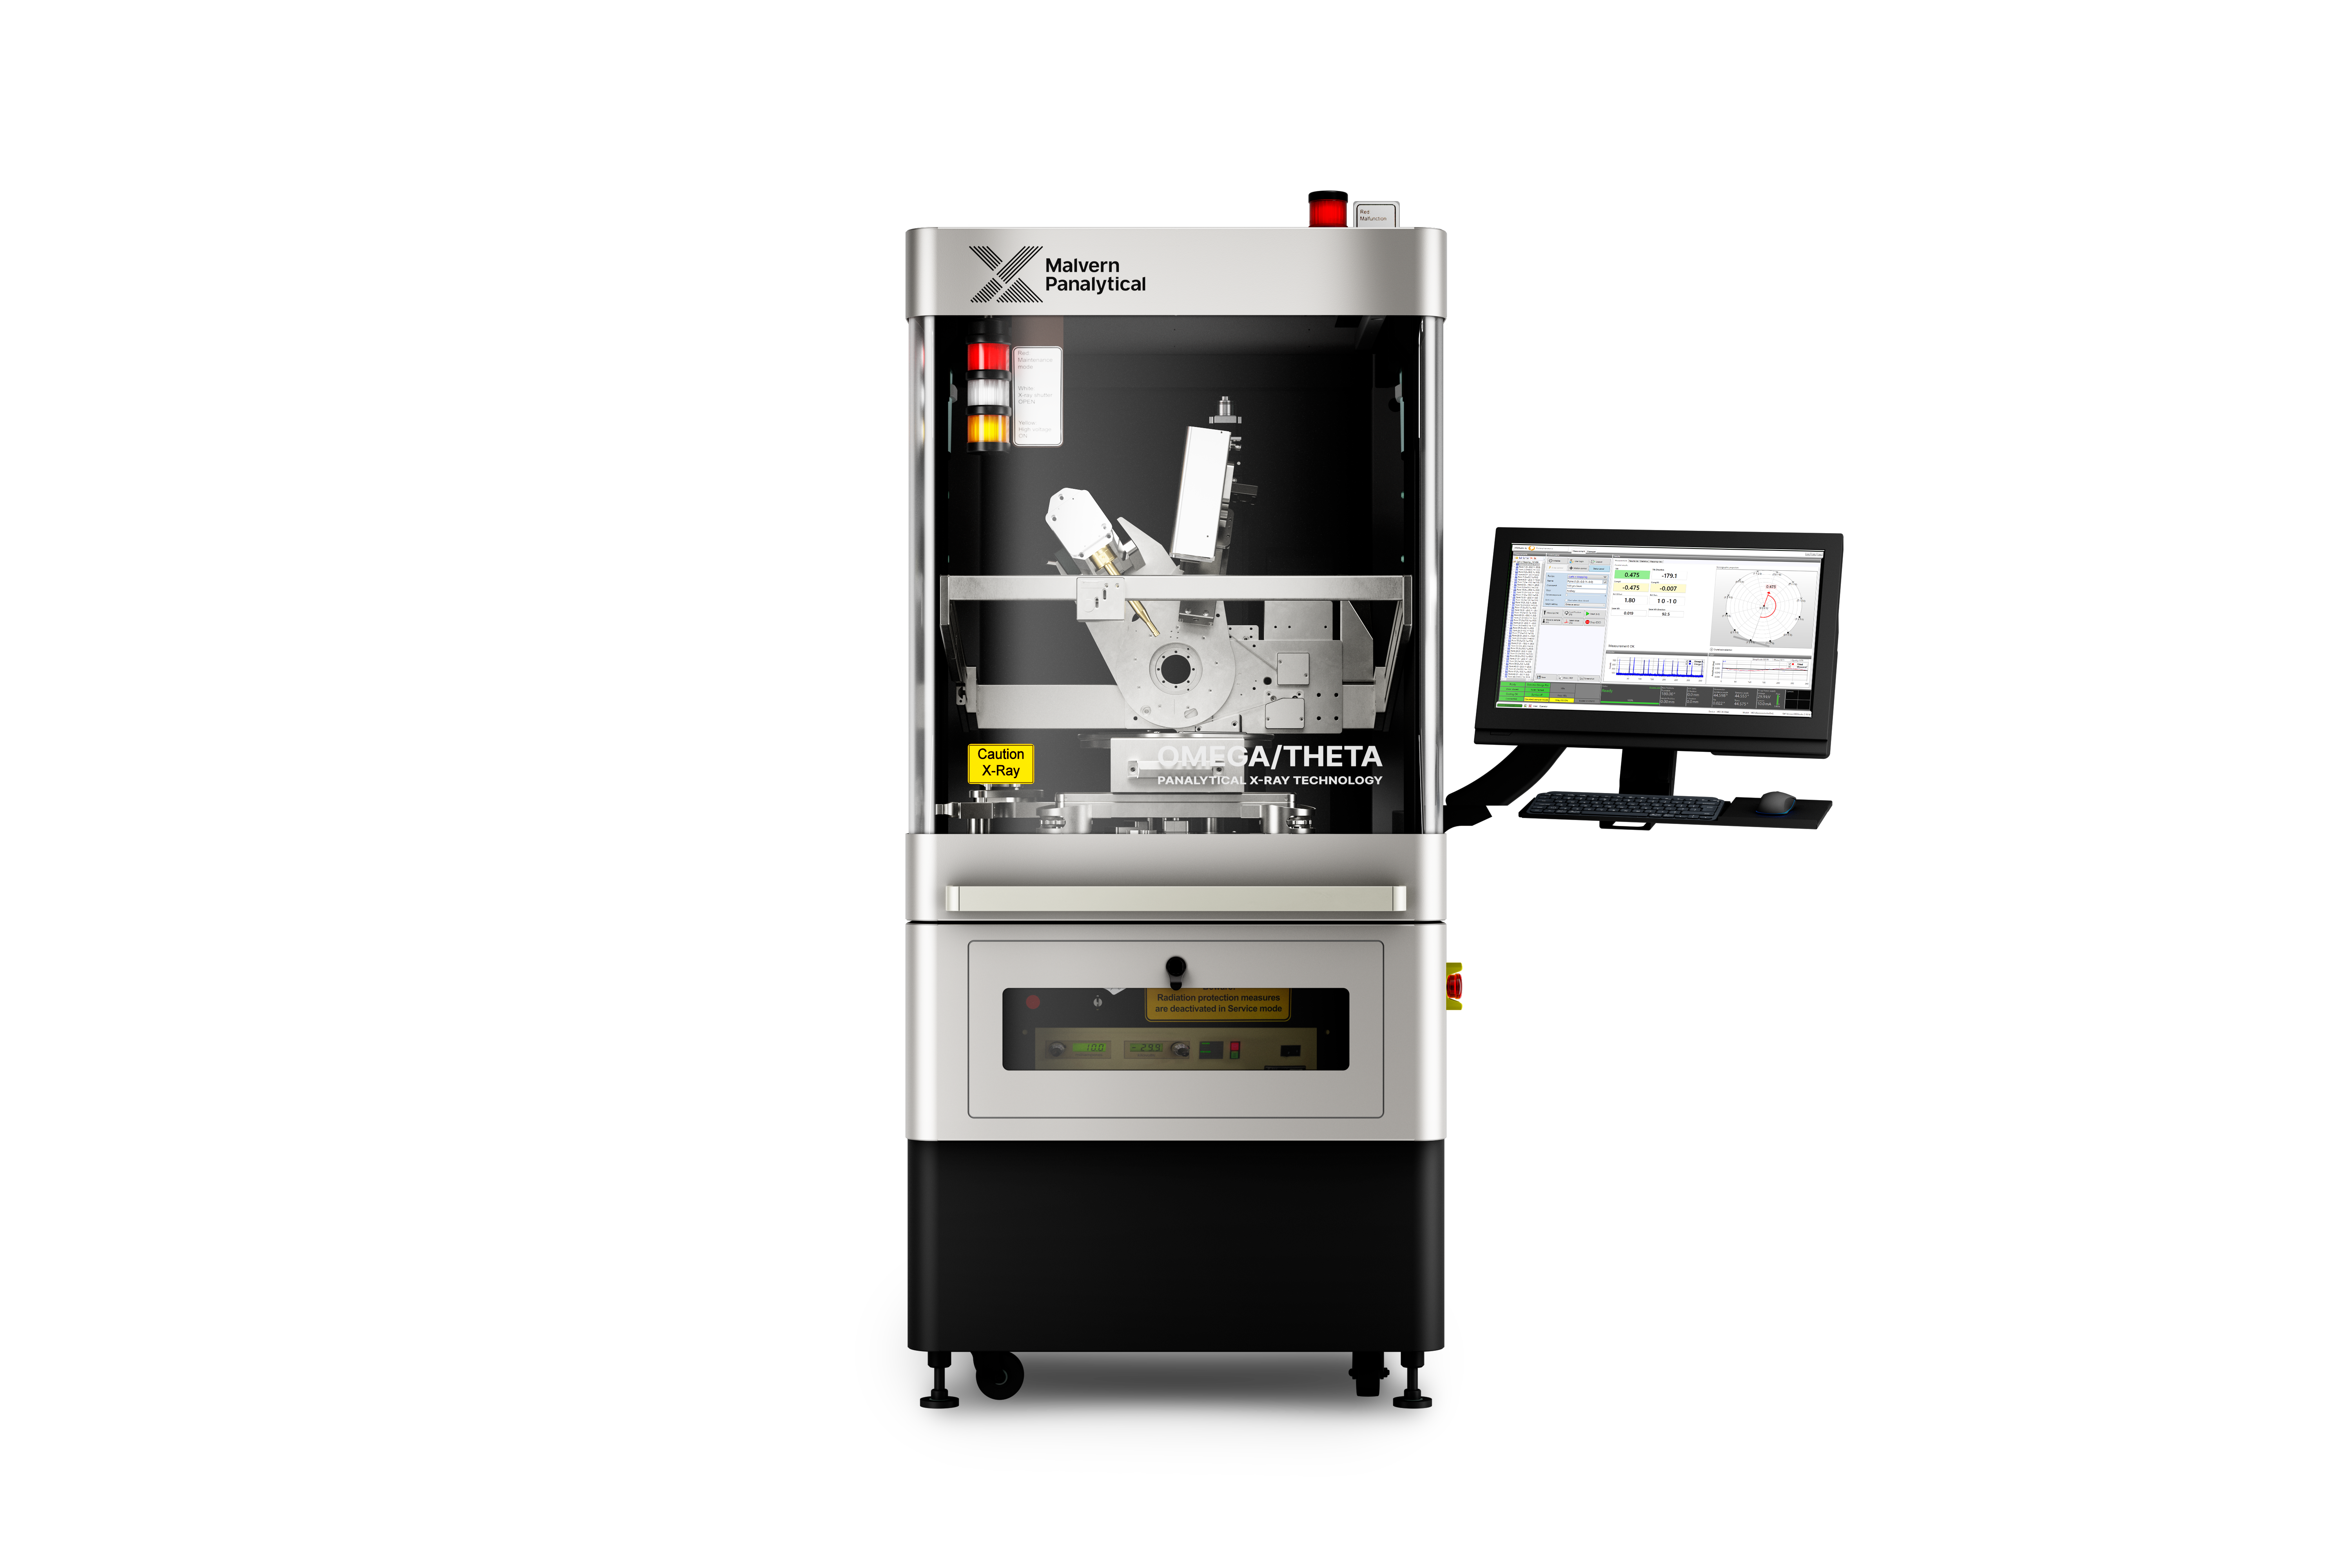
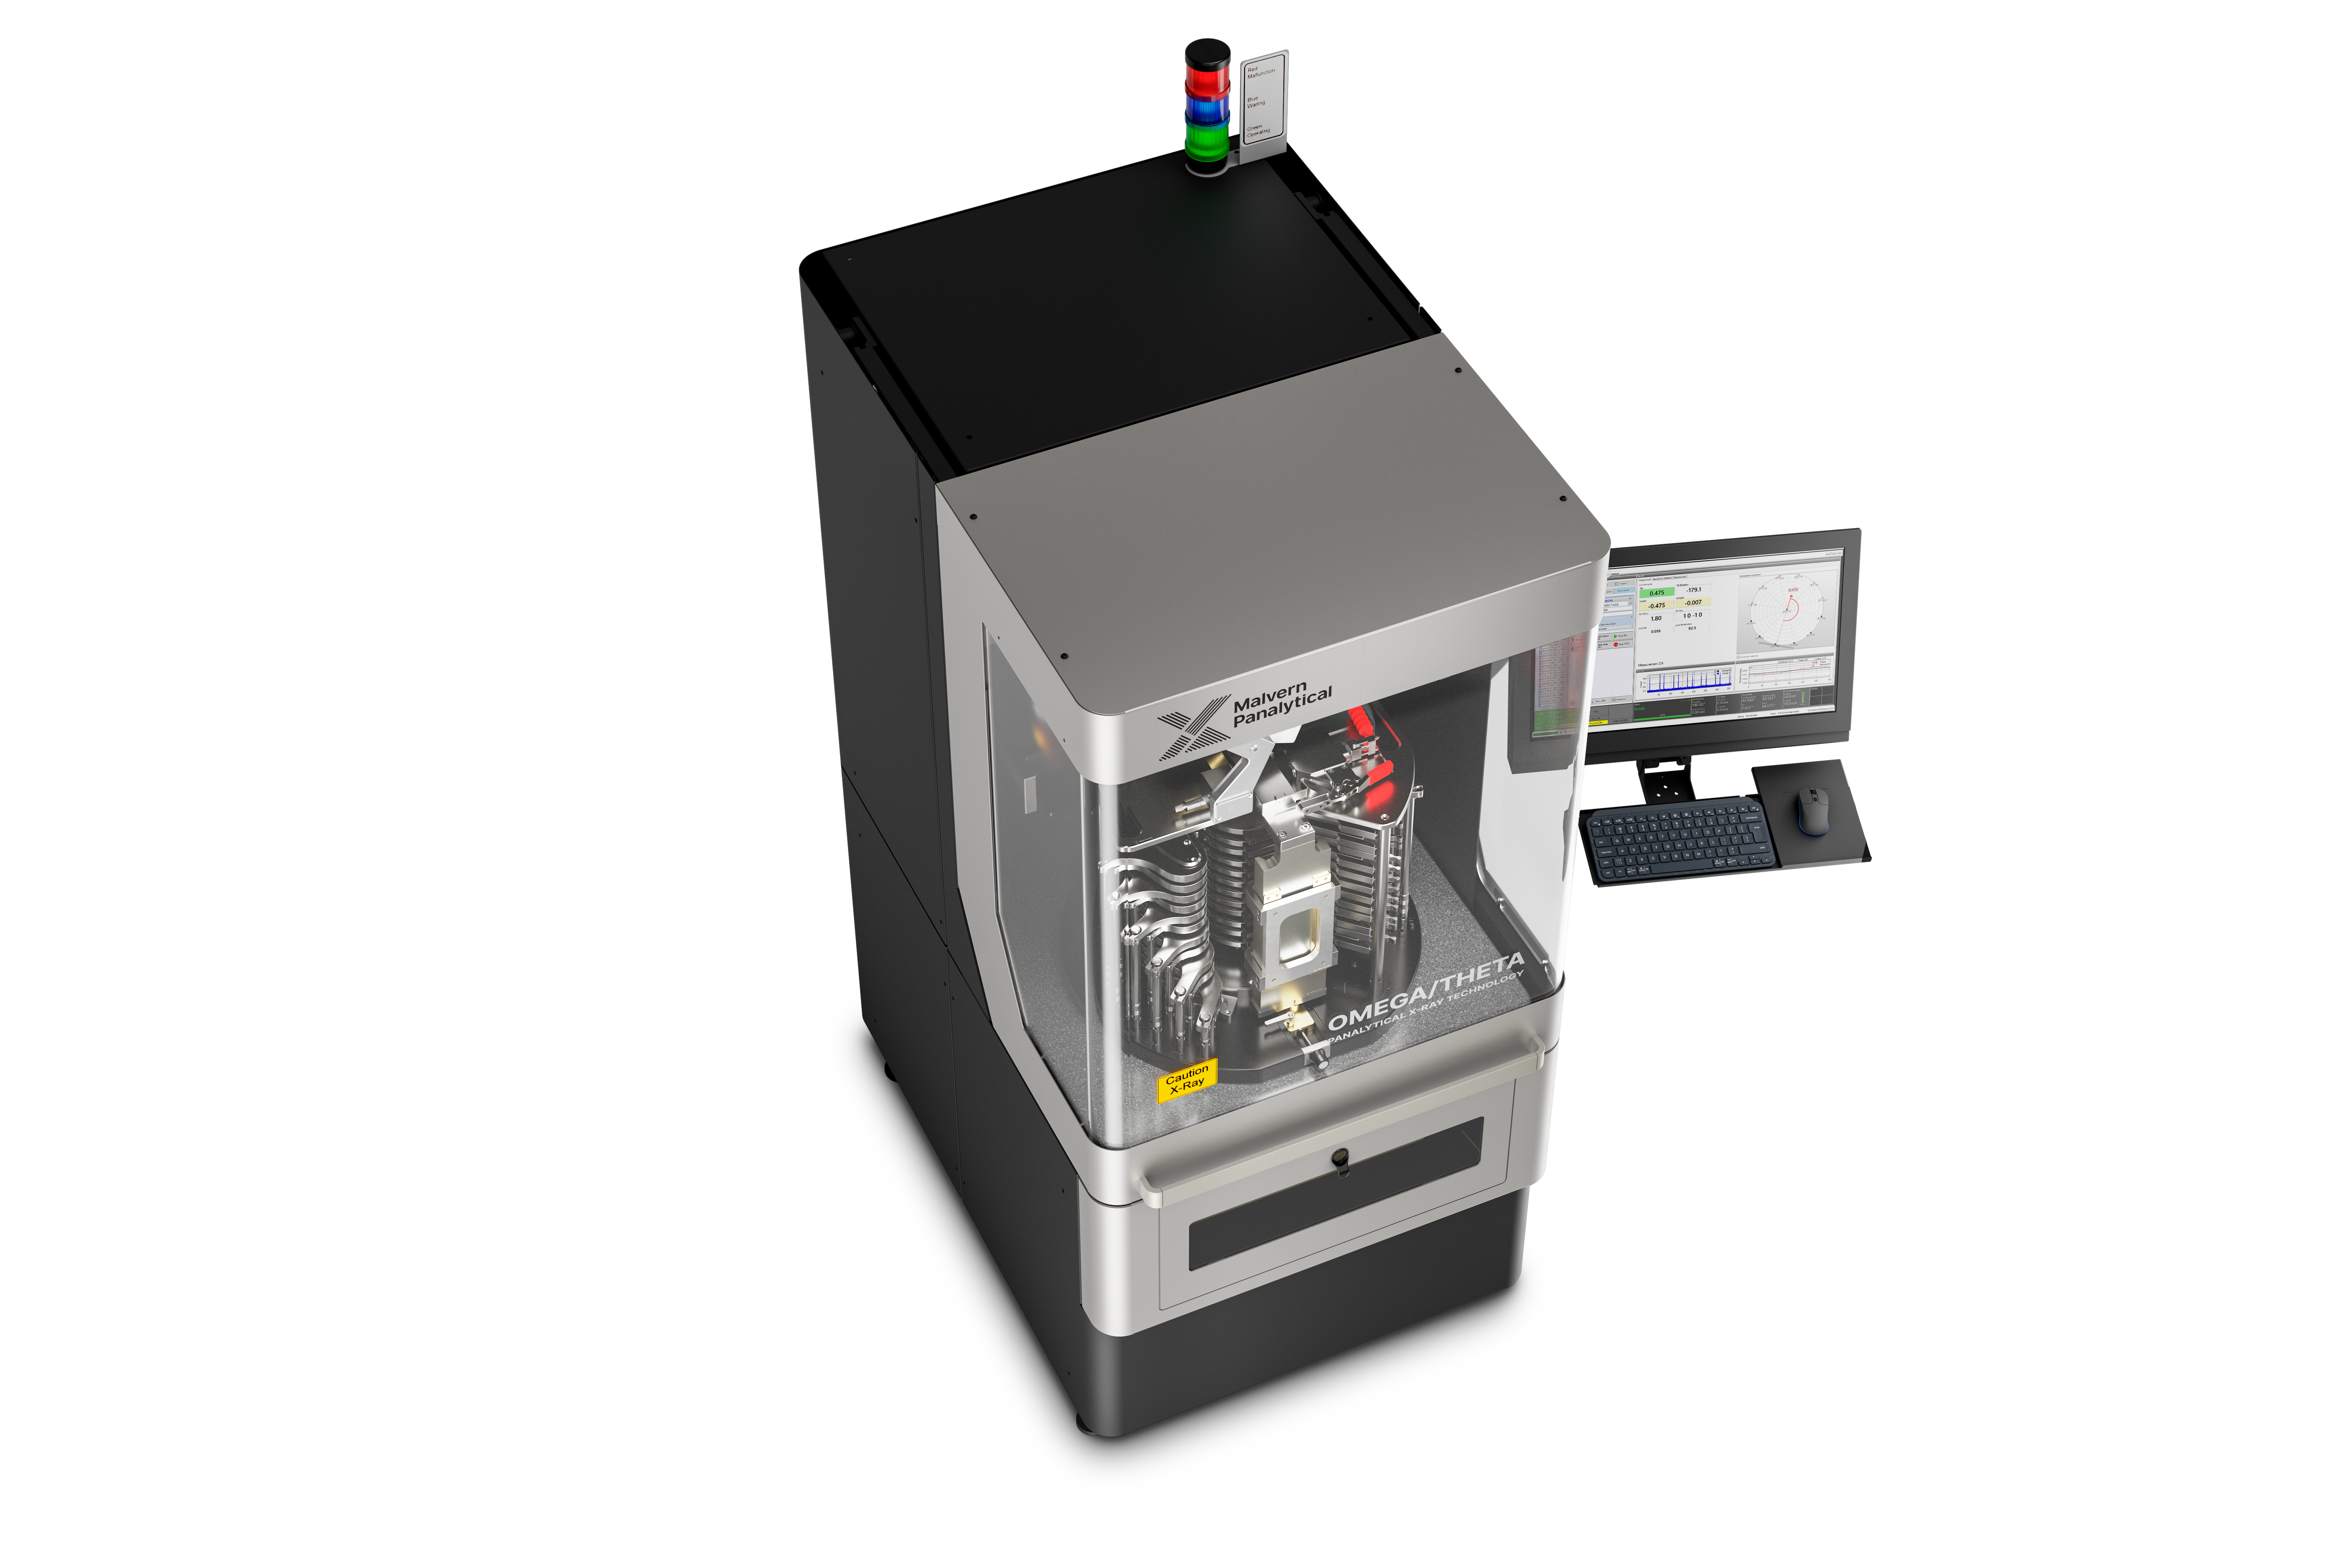
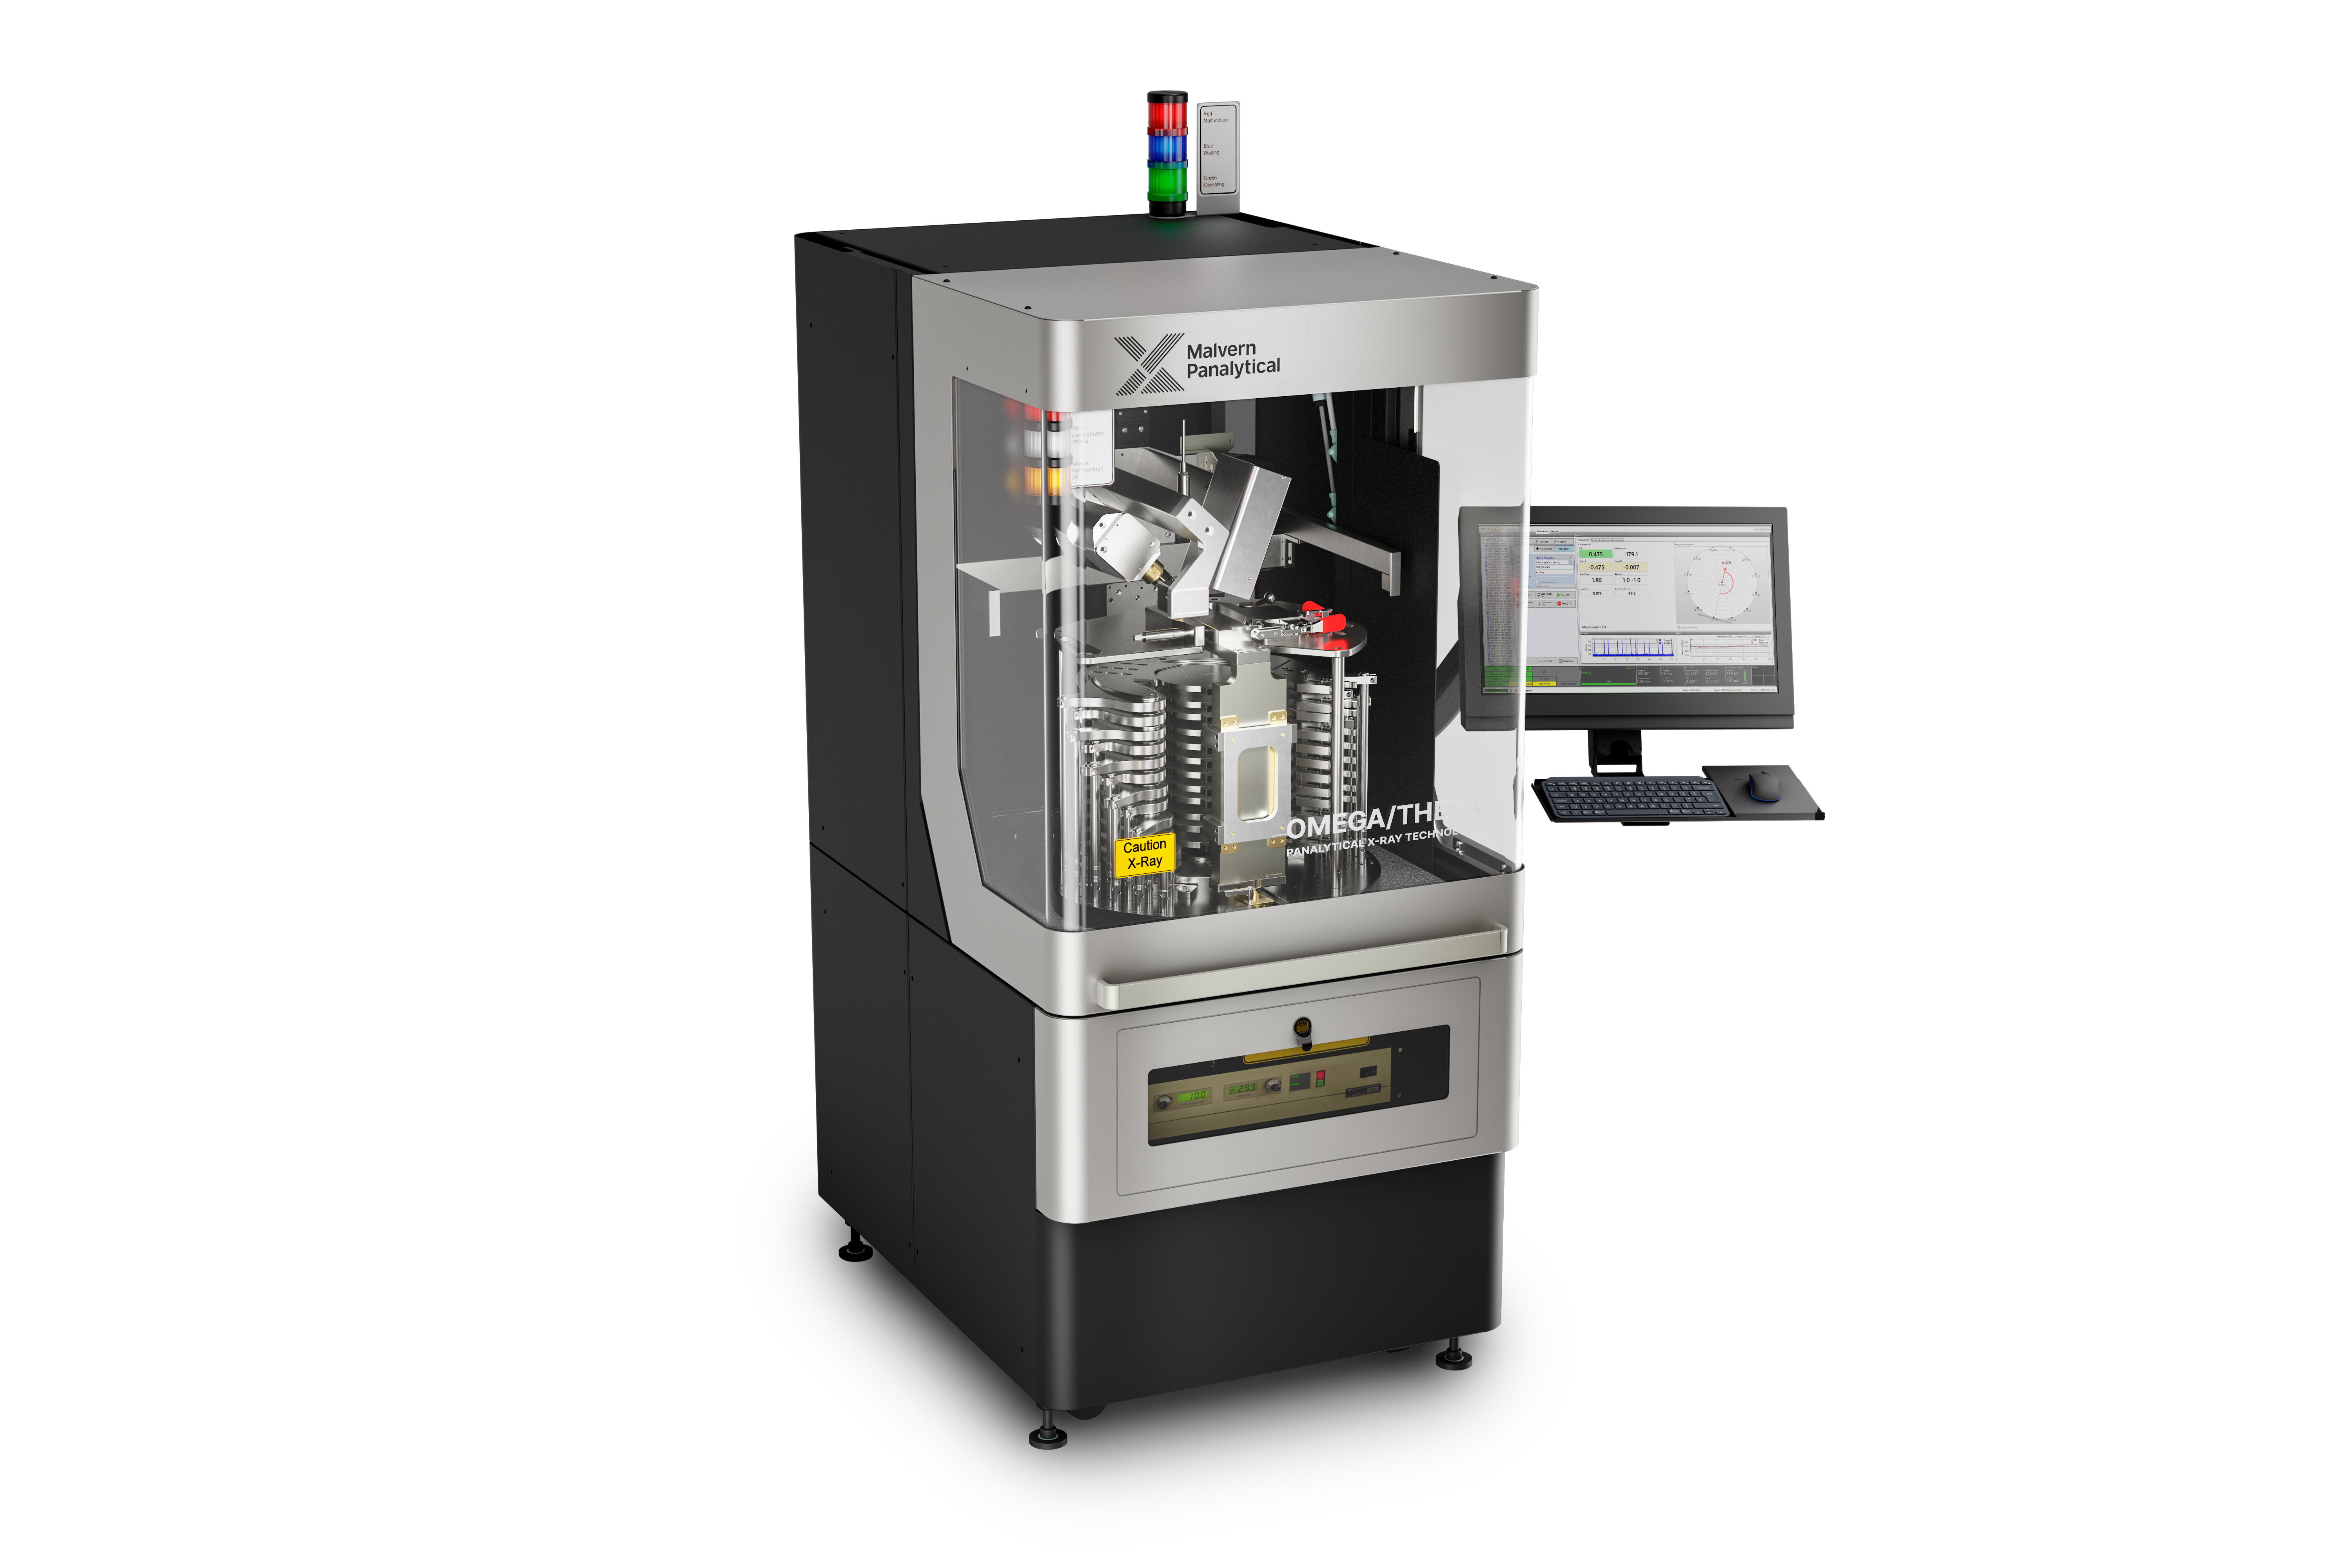
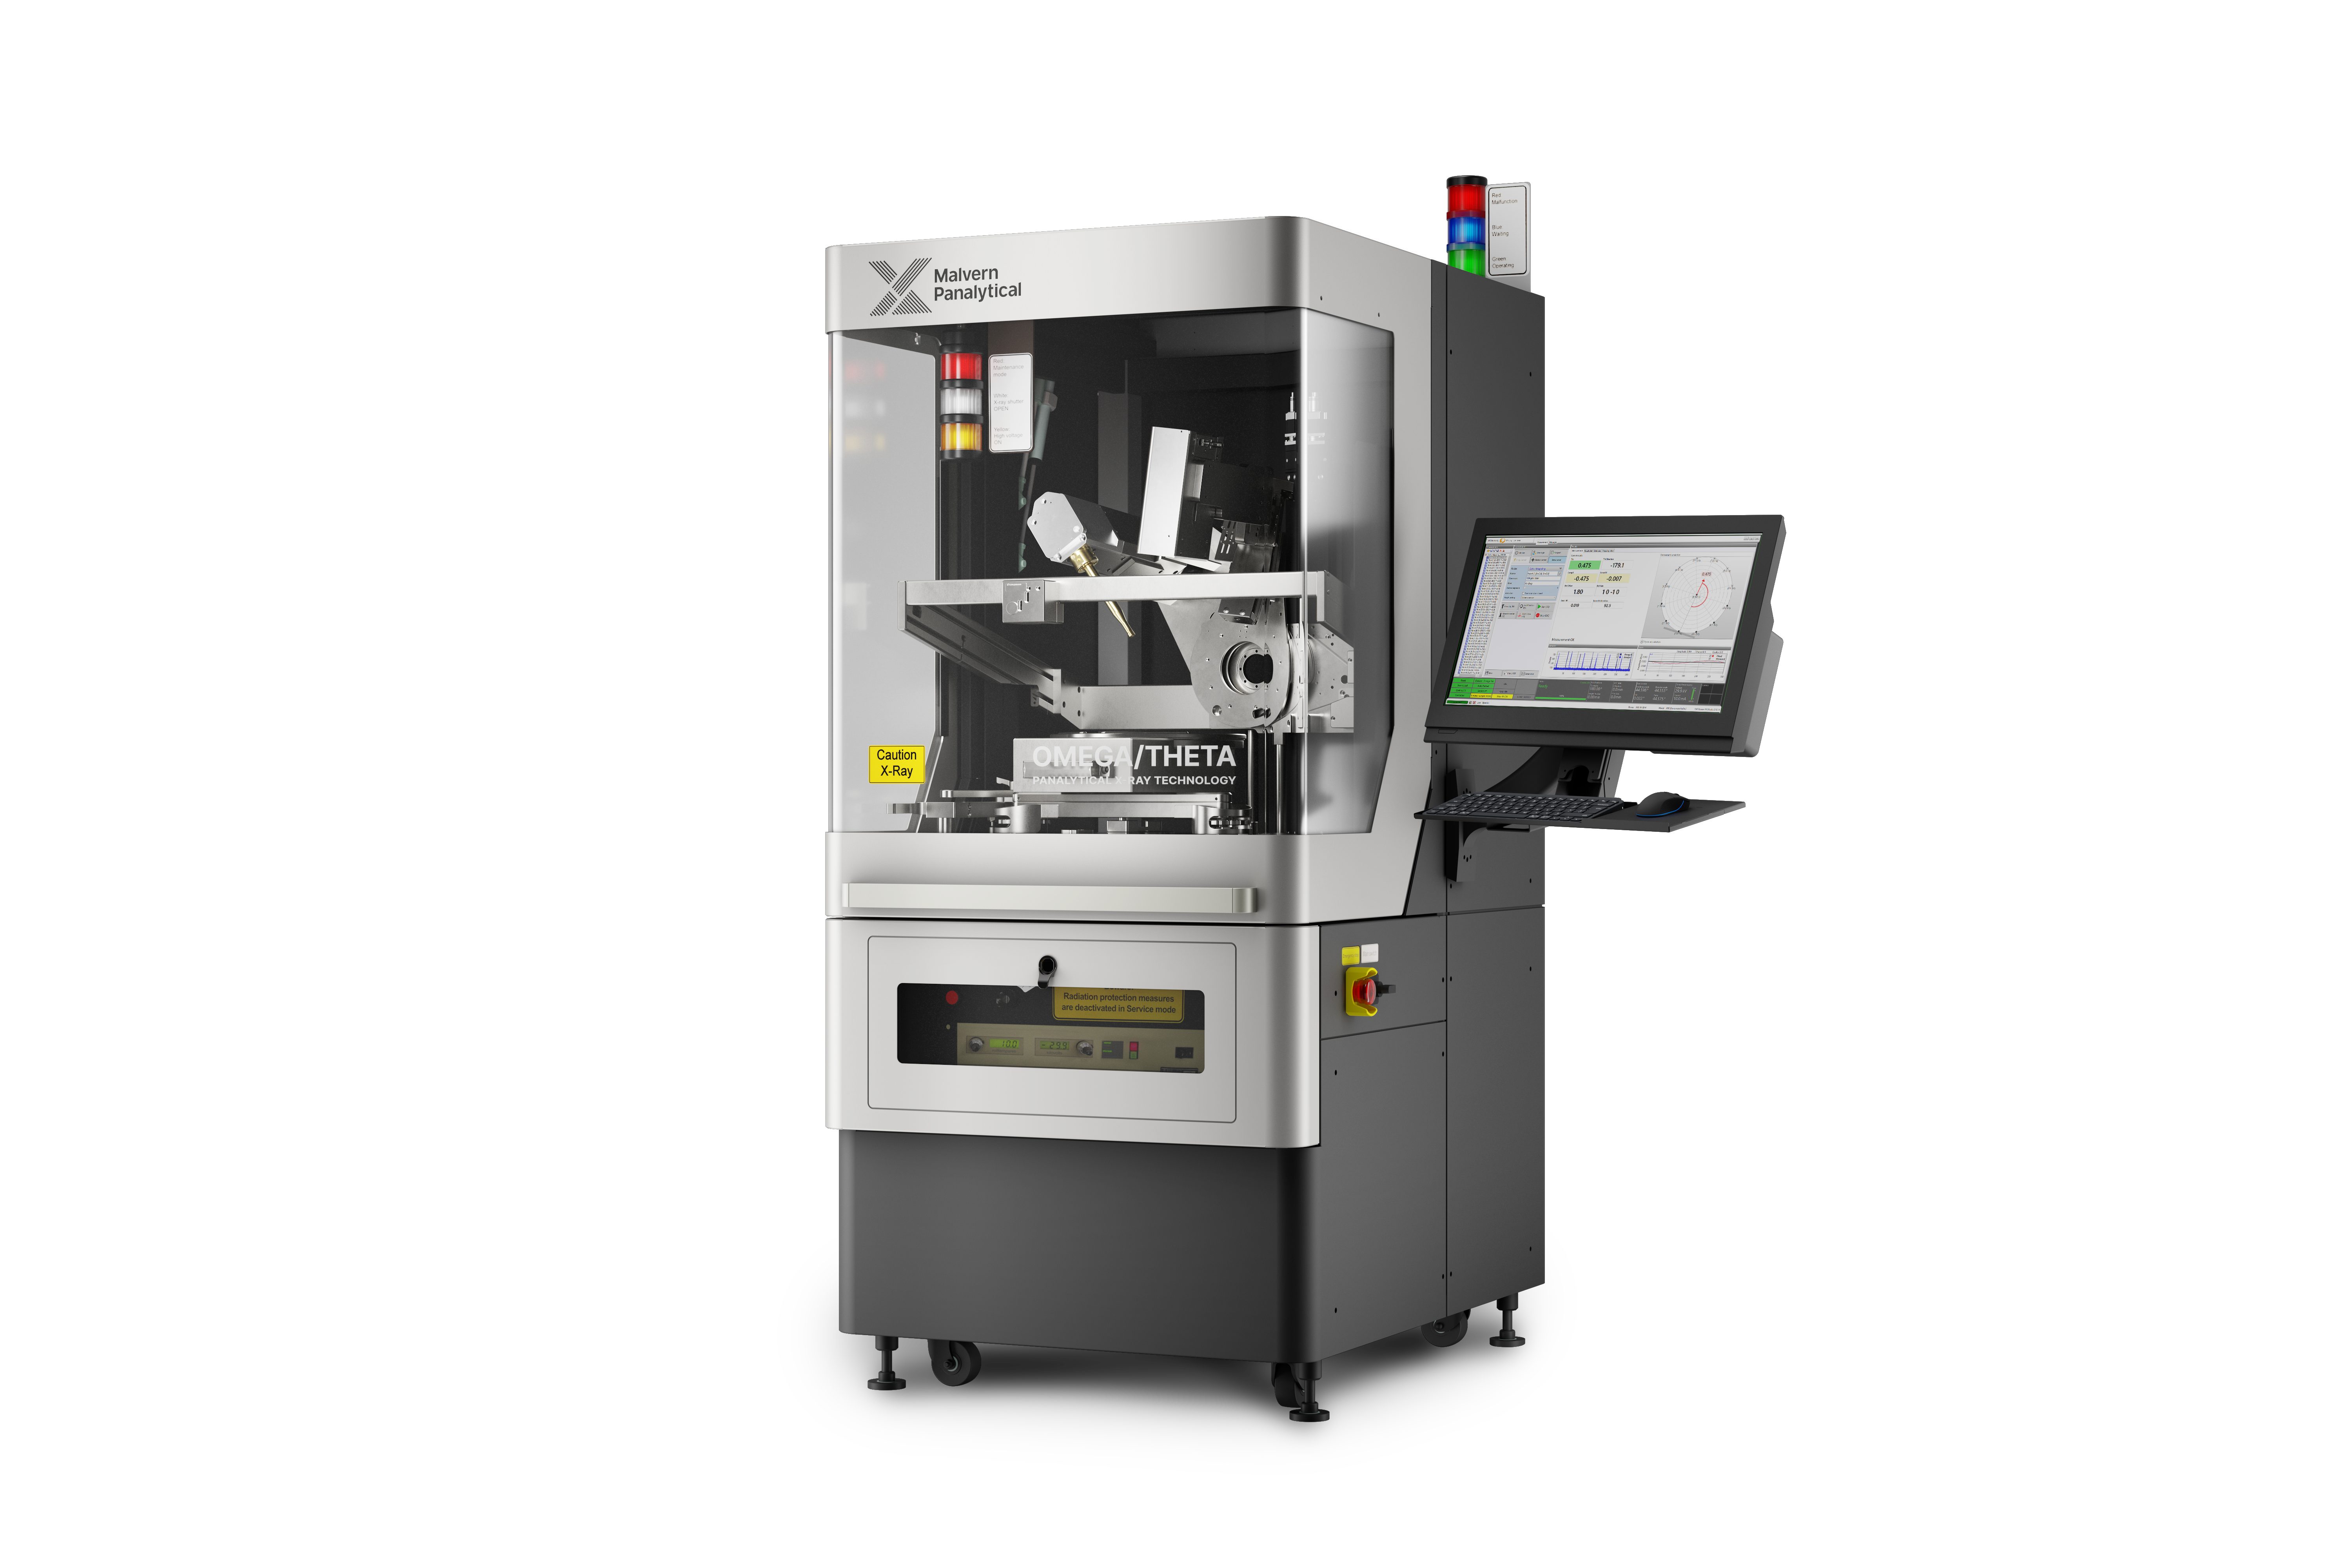


The Omega/Theta delivers the ultimate in combined precision and speed for determining the crystal lattice orientation. It features many process accessories from barcode readers to mapping tables and a crystal stacking frame. Omega/Theta is your reliable partner for finding the orientation of the crystals and transferring to the next processing step.
Download brochureThe Omega/Theta is your reliable future-proof partner for determining crystal orientation in the fast-evolving semiconductor landscape. Market-leading precision, super-fast measurement speed, and high-end build quality are combined with the power of automation, offering unparalleled efficiency and precision for crystal orientation and alignment in industry and research applications
The azimuthal scan method requires only one measuring rotation to gather all the necessary data to fully determine the orientation, delivering the results within 10 seconds whilst not compromising accuracy.
The sample is rotated 360o, with the X-ray source and detector positioned to achieve a certain number of reflections per turn. These reflections enable the orientation of the crystal lattice to be measured in relation to the rotation axis with high precision of up to 0.003o.
All measurements on the Omega/Theta are automated and are managed from within the user-friendly XRD software, which offers ready-made easy recipe-based measurements for routine workflow.
The instrument can be easily integrated into existing processes in production environments using its various MES, SECS/GEM and similar interfaces.
Omega/Theta can be used to characterize any single crystalline materials. Commonly used materials include:
Our wide range of accessories enhance the productivity of Omega/Theta in a variety of applications from seed boring to boule grinding, to slicing all the way to wafer end control – keeping you flexible even if those needs change over time.
With specialized sample-holders to meet any need from large ingots to tiny plates, the Omega/Theta can accommodate a wide range of sample sizes – adding value to both production and research.
With customized sample-holders to meet any need from large ingots to tiny cylinders, the Omega/Theta can accommodate a wide range of sample sizes – ensuring that it is equally at home in a production workflow as in research.
| Technical specification | |
|---|---|
| X-ray source | Standard X-ray tube, Cu anode |
| Detector | Scintillation counter (single or double) |
| Sample holder | Precise turntable, mounting plate and tools for sample adjustment |
| Crystal collimator | Available |
| Mapping | Heavy duty mapping stage available |
| Software | XRDStudio |
| Water cooling | Flow – 4l/min, max. pressure 8 bar, T ≤ 30°C |
| PC workstation | Windows 7 or latest, .NET Framework update |
| Dimensions | H 1950 mm × D 820 mm × W 1200 mm |
| Weight | ca, 650 kg |
| Power requirement | 208-240 V, 16 A single phase, 50-60 Hz |
| Certification | Manufactured under ISO 9001 guidelines, CE conform |

Measure a wider range of sample sizes in different process stages with additional sample stages designed to accommodate crystals smaller or larger than average.

Easily handle your various types of samples with dedicated sample adjustment tools.
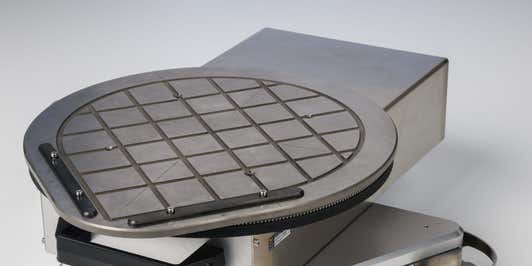
Easily map crystal orientation or surface distortions onto a user-defined grid using an additional X-Y positioning stage above the turntable. The mapping stage enables comprehensive exploration of the entire sample surface via a customizable surface scan.

Precisely align ingots before sawing and enhance tool utilisation. The efficient stacking stage aligns ingots during the Azimuthal-scan, before transferring the complete stack over to the wire saw. This parallel sawing method is highly efficient.

Rapid and accurate quality control measurements for production processes. The rocking curve, indicative of lattice quality, can be assessed rapidly pointwise or in conjunction with a mapping tool for a quality map. The optic is automated for easy on/off toggling.
An optional laser scanner enables the measurement of precise sample shape, giving you deeper insight into your materials.

Perfectly align before transferring the sample into your sawing process with the surface orientation device.
Smart, efficient processes are your advantage in a changing industry – and they start with the Omega/Theta. Fully automated crystal orientation and alignment at the highest speed.